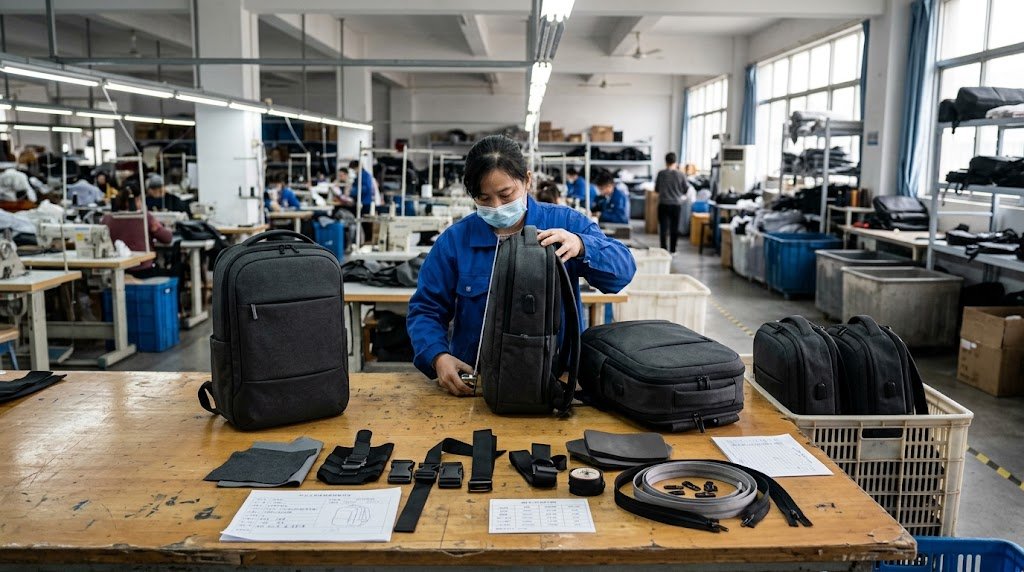
Confused by inconsistent backpack liter ratings1? This makes it hard to source the right size for your customers. I’ll show you how to measure volume just like the pros do.
To accurately measure backpack volume2, use the industry-standard "fill and decant" method. Fill the bag’s enclosed compartments with uniform items like 20mm plastic balls, then pour them into a graduated container to find the total liters. This gives you a true, usable capacity.

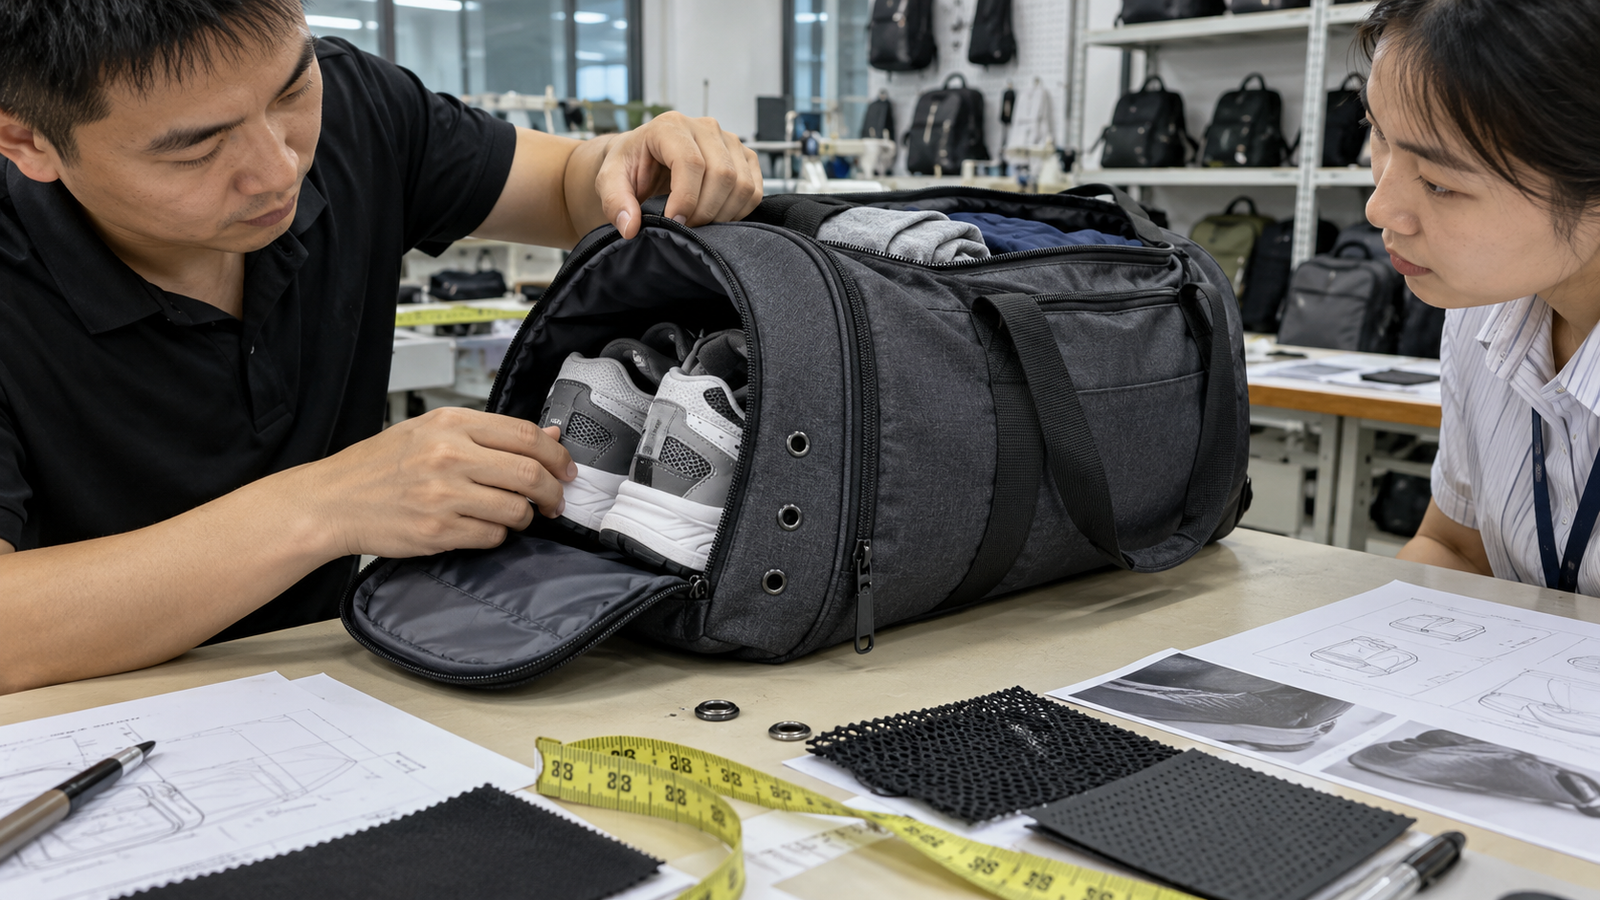
When I first started in the bag industry, I was surprised by how much a "30-liter" pack could vary between suppliers. It felt like a guessing game, and for a brand owner like you, guessing is not an option. But understanding how volume is actually measured changed everything for me and my clients. It’s a crucial piece of knowledge that ensures product quality and builds customer trust. Let’s dive into the details so you can feel confident in your product specifications3.
[claim claim=”The ASTM F2153 standard includes open mesh water bottle pockets in the total volume calculation.” istrue=”false” explanation=”The standard only measures fully enclosed spaces. Open pockets are excluded because they don’t secure contents in the same way.”]
[claim claim=”Backpack volume measures the total internal, enclosed space of a bag.” istrue=”true” explanation=”Volume, or capacity, refers to how much the bag can hold within its zippered or sealed compartments, typically measured in liters or cubic inches.”]
What does backpack “volume” actually measure—and what standard do brands use?
Wondering what "volume" really means on a spec sheet? It’s not just a random number. Misunderstanding this can lead to sourcing bags that don’t meet your customers’ needs.
Backpack volume measures the total internal space a bag encloses, usually in liters. Many reputable brands follow the ASTM F2153 standard4, which specifies how to measure capacity, including what pockets to include or exclude, ensuring a more consistent and comparable measurement across different products.
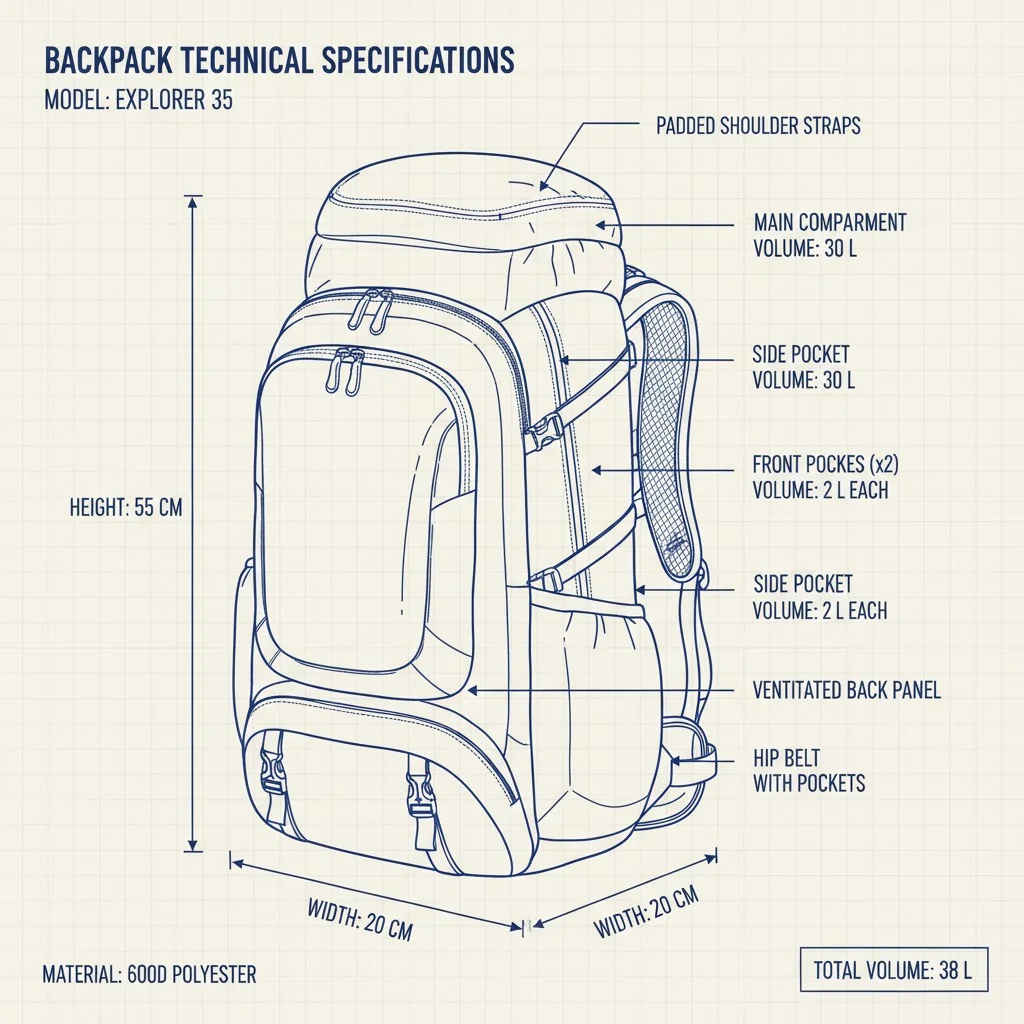
When I work with factories, we often refer to a specific standard to make sure everyone is on the same page. For backpack volume, that standard is ASTM F2153. Think of it as the official rulebook for measuring a pack’s capacity.
What is the ASTM F2153 Standard?
This is the "Standard Test Method for Measurement of Backpack Capacity." It was created so that when a brand says a pack is 30 liters, it means the same thing as another brand’s 30-liter pack.
Key Rules of the Standard
The standard is very specific about what counts and what doesn’t.
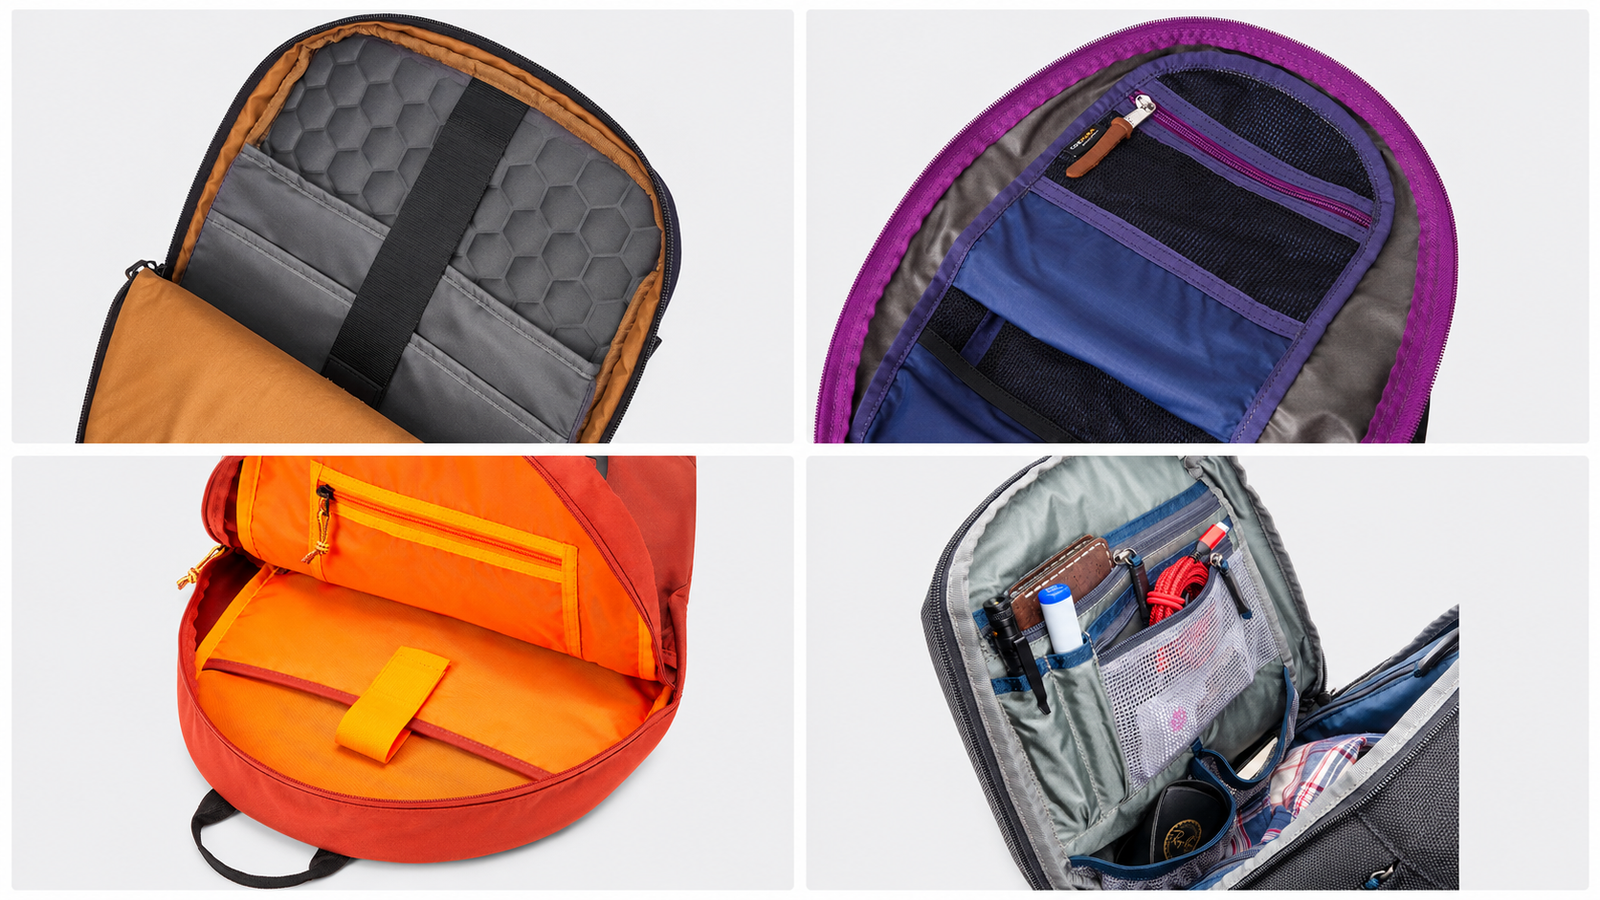
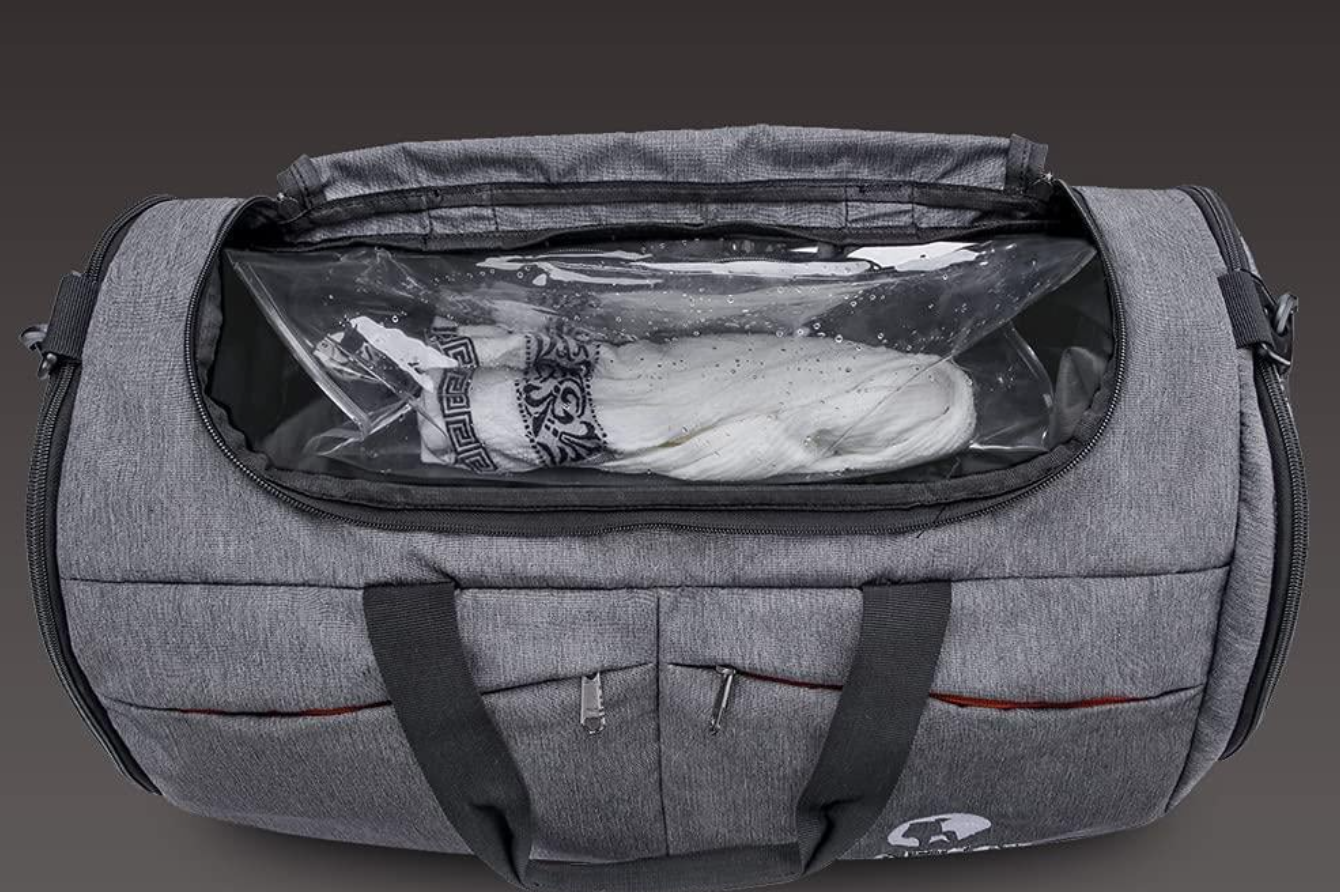
- What’s Included: Only fully enclosed compartments5 are part of the official volume. This includes the main body, any zippered pockets, and covered lid compartments.
- What’s Excluded: Open pockets, like the mesh water bottle holders on the side or front "shove-it" pockets, are not included. The space created by compression straps also doesn’t count.
This distinction is critical for you as a brand owner. It ensures the volume you advertise is secure, usable space.
[claim claim=”The ASTM F2153 standard is a globally recognized method for measuring backpack capacity.” istrue=”true” explanation=”It provides a consistent, repeatable procedure that many leading brands and manufacturers use to ensure their volume ratings are accurate and comparable.”]
[claim claim=”Any pocket on a backpack, whether open or zippered, counts toward its total volume.” istrue=”false” explanation=”Only fully enclosed spaces that can be sealed (e.g., with a zipper or buckle) are included in the official volume measurement per the ASTM standard.”]
What tools do I need to measure pack volume accurately at home?
Want to verify a sample’s volume yourself? You don’t need a high-tech lab. Using the wrong tools, however, will give you inaccurate results. Here is what you will need.
To measure volume accurately, you need a uniform fill material6 (like 20mm plastic balls or packing peanuts), a large graduated container or bucket marked with liter increments, and a notepad. This simple setup mimics the professional "fill and decant" method used by manufacturers.
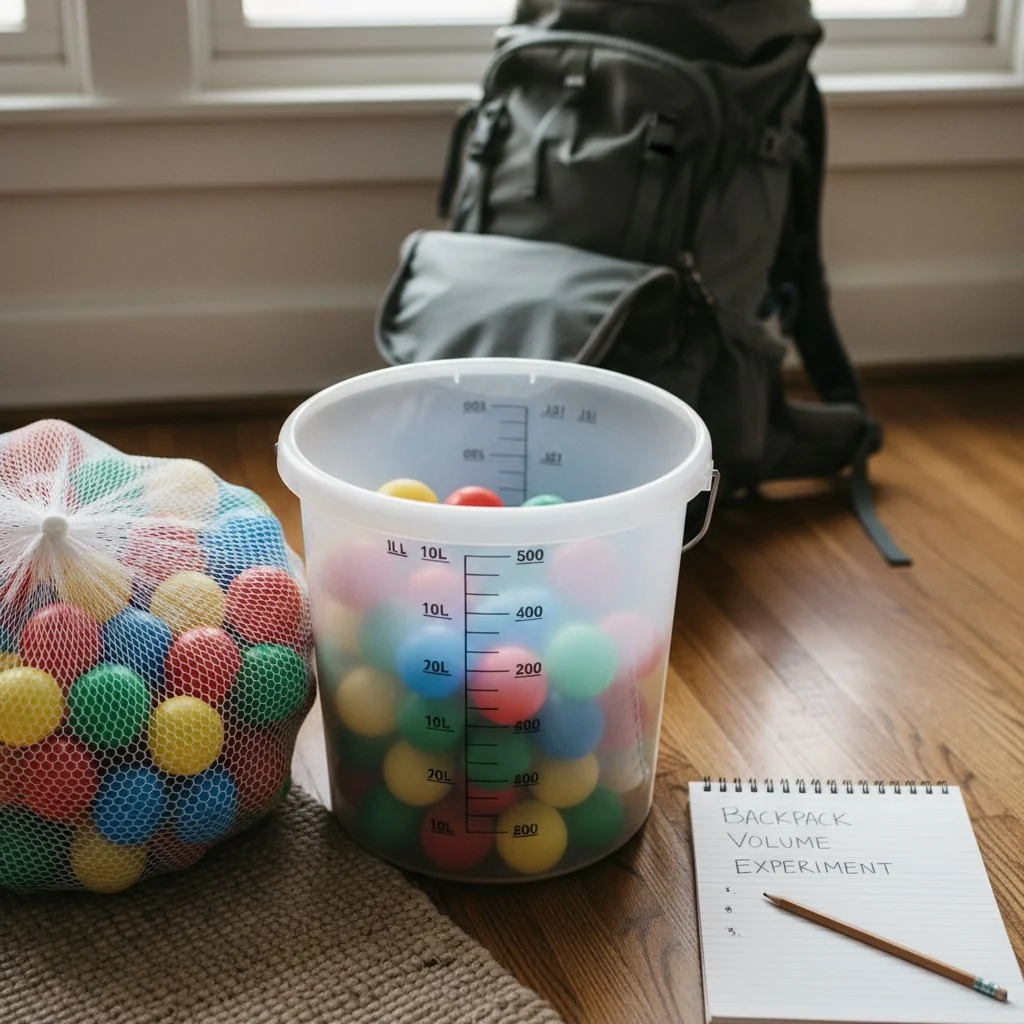
I learned this method directly from quality control teams in the factories I’ve worked with. It’s surprisingly simple but very effective. You can easily build this toolkit to test samples and ensure your products match their specs.
The "Fill and Decant" Toolkit
Here is your shopping list to create a professional-style testing kit at home.
- Uniform Fill Material: The industry standard is 20mm plastic balls. They are perfect because they are all the same size, don’t compress, and settle consistently into corners. If you can’t find them, packing peanuts are a decent alternative. Avoid using soft items like clothes or towels, as they compress and will give you a wrong measurement.
- Large Graduated Container: A big plastic bucket or tub works great. You will likely need to mark it yourself. To do this, get a 1-liter water bottle and pour water into the bucket one liter at a time, marking each level with a permanent marker.
- Notepad and Pen: You’ll need this to write down the volume of each compartment as you measure it.
[claim claim=”Using clothes or towels is a good way to measure backpack volume.” istrue=”false” explanation=”Soft, compressible items like clothing don’t provide a consistent measurement. The industry uses uniform, non-compressible 20mm balls for accuracy.”]
[claim claim=”You can create your own graduated measuring container using a bucket and a 1-liter bottle.” istrue=”true” explanation=”By marking a large bucket in 1-liter increments using a known volume, you can accurately measure the fill material you pour out of the backpack.”]
How do I measure the main compartment step-by-step?
Measuring the main compartment seems easy, but small mistakes can throw off your numbers. This can lead to putting incorrect specs on your product pages. Let’s walk through the process.
First, fill the main compartment completely with your uniform fill material, like plastic balls. Shake the pack gently to ensure the balls settle into all corners. Close all zippers and buckles. Then, carefully pour the balls into your graduated container, recording the volume in liters.
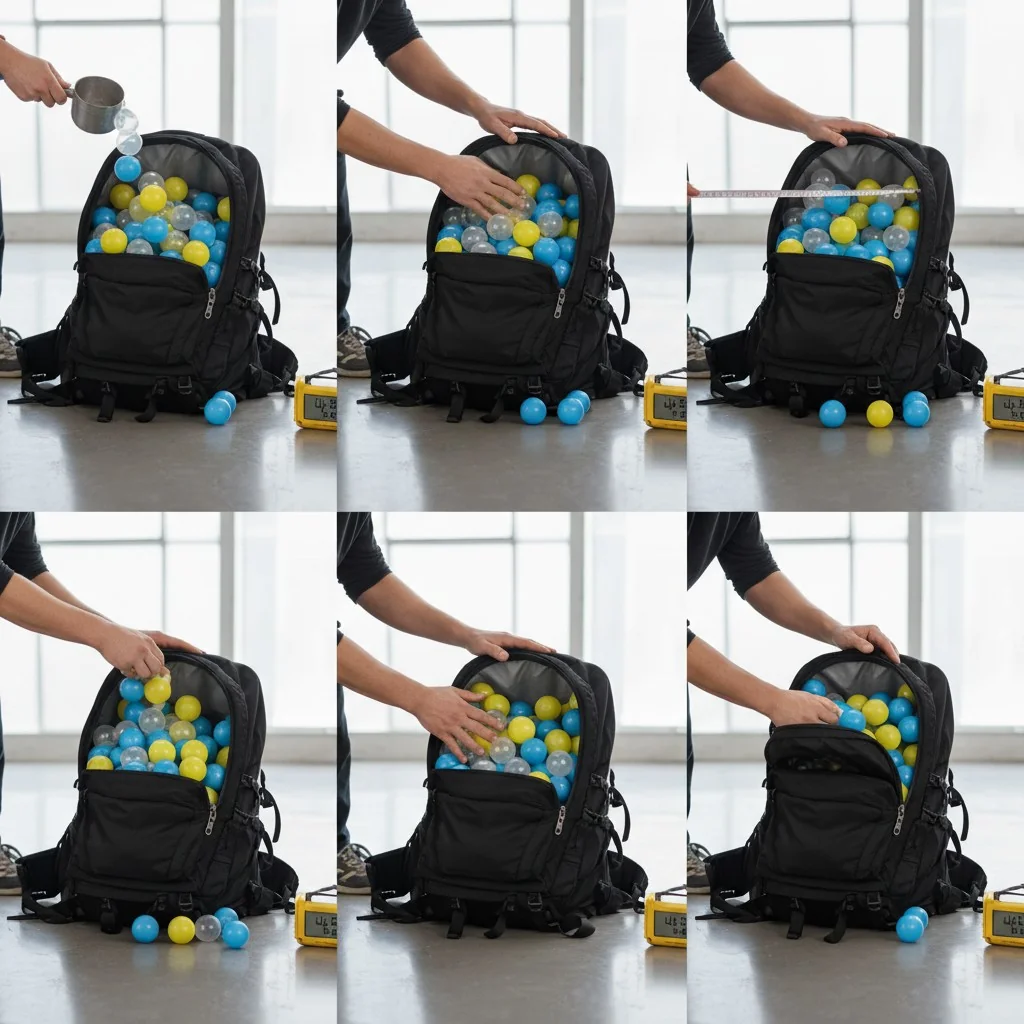
The main compartment holds the bulk of a bag’s volume, so getting this measurement right is the most important step. I always follow this exact process to ensure I get a reliable number every time.
The Main Compartment Measurement Process
Here is a step-by-step guide to get an accurate reading.
- Prepare the Pack: Open the main compartment fully. If there are any internal dividers or laptop sleeves, make sure they are pressed flat against the sides.
- Fill It Up: Pour your 20mm balls into the compartment. Fill it right up to the seams, but don’t stuff it so hard that the bag’s shape gets distorted.
- Settle the Fill: Close the pack and give it a few gentle shakes. This helps the balls settle into every corner, just like real gear would. You might find you can add a few more balls after shaking.
- Close It: Zip up the main compartment completely.
- Decant and Measure: Carefully open the pack and pour all the balls into your pre-marked bucket. Level the balls and read the measurement on the side of the bucket.
- Record: Write down the volume. If your bucket isn’t big enough, just do it in batches and add the numbers together.
Pro Tip: If you need to convert units, remember that 1 liter = 61.0237 cubic inches.
[claim claim=”You should overstuff the backpack to get the maximum possible volume.” istrue=”false” explanation=”Overstuffing distorts the bag’s intended shape and gives an unrealistic volume. Fill only to the natural seams for an accurate measurement.”]
[claim claim=”Shaking the pack after filling helps the fill material settle for a more accurate reading.” istrue=”true” explanation=”This mimics how gear settles in a pack and ensures there are no large air pockets, leading to a truer measurement of usable space.”]
Do lids, collars, and pockets count—and how do I total them?
A bag’s total volume isn’t just the main body. Ignoring other compartments can mean misrepresenting your product’s capacity. But which ones should you include in your final count?
Yes, all fully enclosed pockets, lids, and extendable collars count toward the total volume. Measure each of these areas separately using the same fill-and-decant method. Then, simply add the volume of each compartment to the main body’s volume for the grand total.
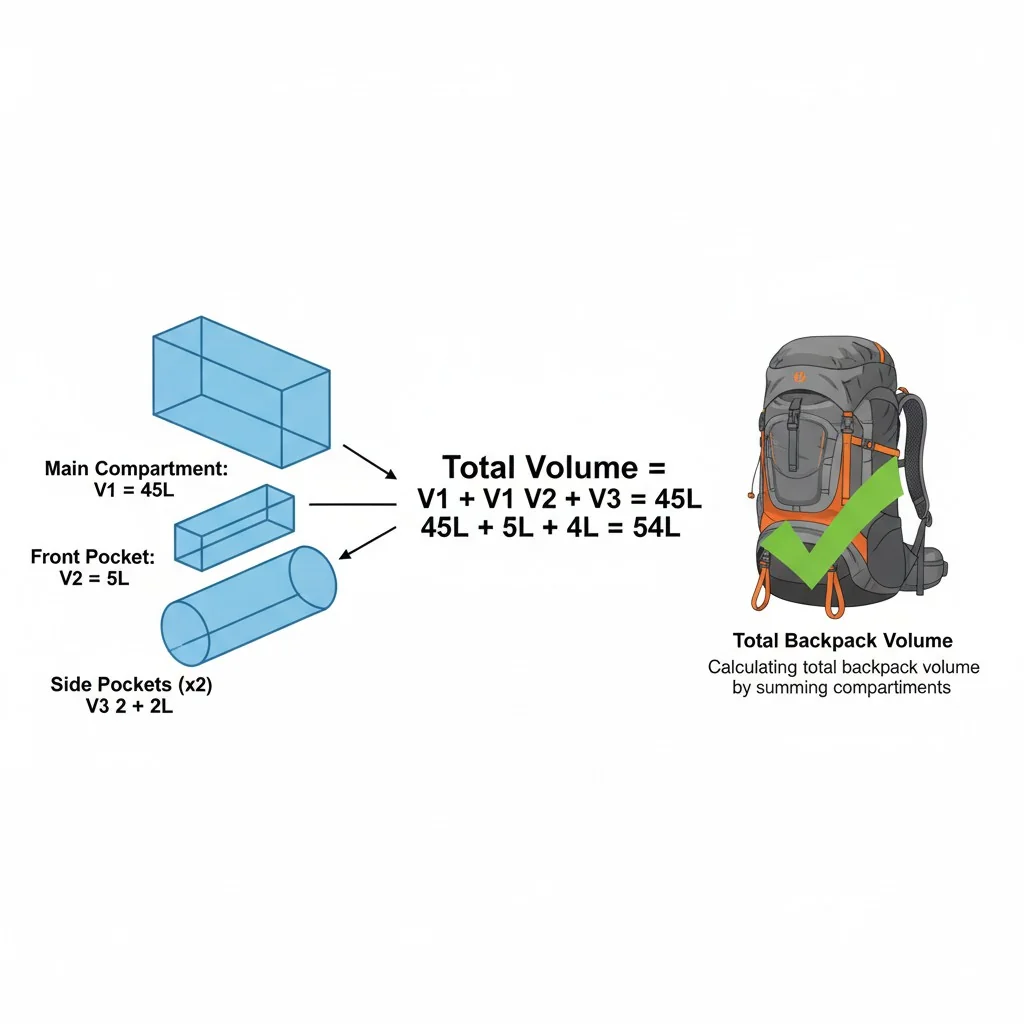
I’ve seen brands get this wrong, which can lead to unhappy customers and returns. The key is to be systematic and measure every single enclosed space.
Calculating the Total Volume
Here’s how to break it down.
- What to Measure:
- Main Compartment: You have already measured this.
- Zippered Pockets: Measure every pocket that closes completely with a zipper. This includes front pockets, side pockets, and hip belt pockets.
- Lid ("Brain"): The top compartment on many hiking or travel packs.
- Extendable Collar: This is the extra fabric at the top that lets you over-pack. You should calculate two totals: one with the collar down (unextended volume) and one with it full (extended volume).
The Summation
Use your notepad to create a simple table and add up the numbers. This gives you a clear and accurate final volume.
| Compartment | Volume (Liters) |
|---|---|
| Main Body | 35 L |
| Lid | 5 L |
| Front Pocket | 2 L |
| Total Unextended | 42 L |
| Extended Collar | +8 L |
| Total Extended | 50 L |
[claim claim=”Open side pockets for water bottles are included in the ASTM standard volume.” istrue=”false” explanation=”The ASTM F2153 standard only includes fully enclosed spaces. Open mesh or shove-it pockets are excluded from the official liter count.”]
[claim claim=”To find the total volume, you must measure each enclosed pocket separately and add it to the main compartment’s volume.” istrue=”true” explanation=”This systematic approach ensures all usable, enclosed space is accounted for, providing an accurate total capacity for your product specifications.”]
Can I just multiply length × width × depth from specs instead?
It seems like a simple shortcut, right? Just multiply the dimensions from the spec sheet. But this common mistake leads to wildly inaccurate volume figures and can damage your brand’s credibility.
No, you cannot accurately calculate volume by multiplying L×W×D. This formula is for perfect rectangles, but backpacks have curves, tapers, and internal structures that reduce usable space. This method will always overestimate the true, functional volume of the bag.
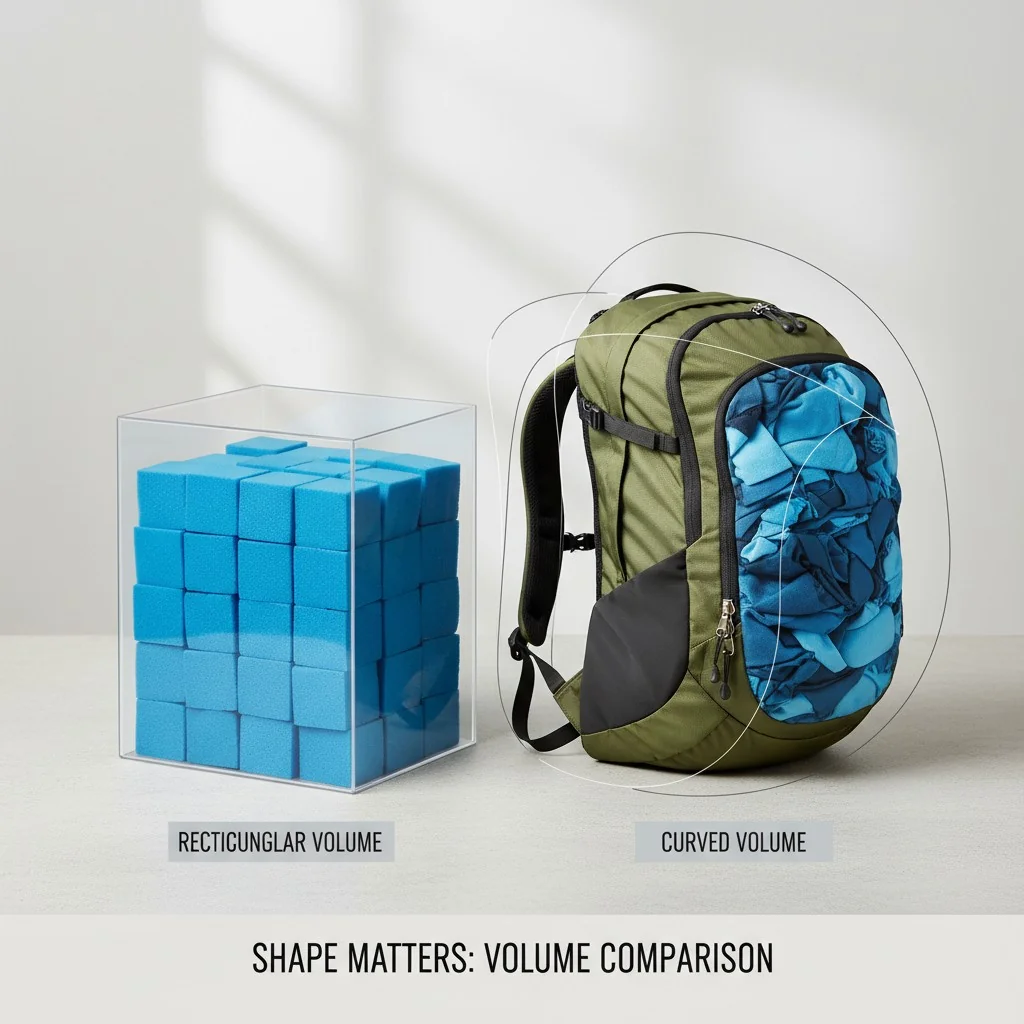
When I work with new designers, this is one of the first misconceptions I have to clear up. A backpack is not a box, and treating it like one will set the wrong expectations for your customers.
The Problem with the "Box" Method
Here is why this simple formula doesn’t work for bags.
- Curves and Tapers: Most backpacks are wider at the bottom and get narrower toward the top. They have rounded corners and curved back panels for comfort. The L×W×D formula calculates the volume of a perfect box with none of these features, so it doesn’t account for this lost space.
- Internal Features: Things like padded laptop sleeves, hydration bladder pockets, and small organizer pouches all take up space inside the main compartment. The simple multiplication method completely ignores these.
The result? A bag with L×W×D dimensions that calculate to 24 liters might only have a true, usable volume of 20 liters. The fill-and-decant method gives you the actual space your customer can use, which is the only number that matters.
[claim claim=”Multiplying a backpack’s external dimensions (L×W×D) gives its accurate volume.” istrue=”false” explanation=”This method is for perfect rectangular prisms and fails to account for a backpack’s curves, tapered shape, and internal compartments, leading to a significant overestimation of volume.”]
[claim claim=”The fill-and-decant method provides a more realistic measure of usable volume than a simple L×W×D calculation.” istrue=”true” explanation=”By filling the actual space, this method accounts for the bag’s true shape and internal features, reflecting what a customer can actually fit inside.”]
Why do brand liter ratings vary—and how should I compare?
Ever noticed how a 30L pack from one brand feels totally different from another’s? This isn’t just your imagination. These variations can make sourcing the right product a nightmare.
Liter ratings vary because not all brands follow the same measurement standard (like ASTM F2153). Some may include non-enclosed pockets or use different fill methods. To compare accurately, look for brands that disclose their method and compare specific compartments (e.g., main body vs. main body).
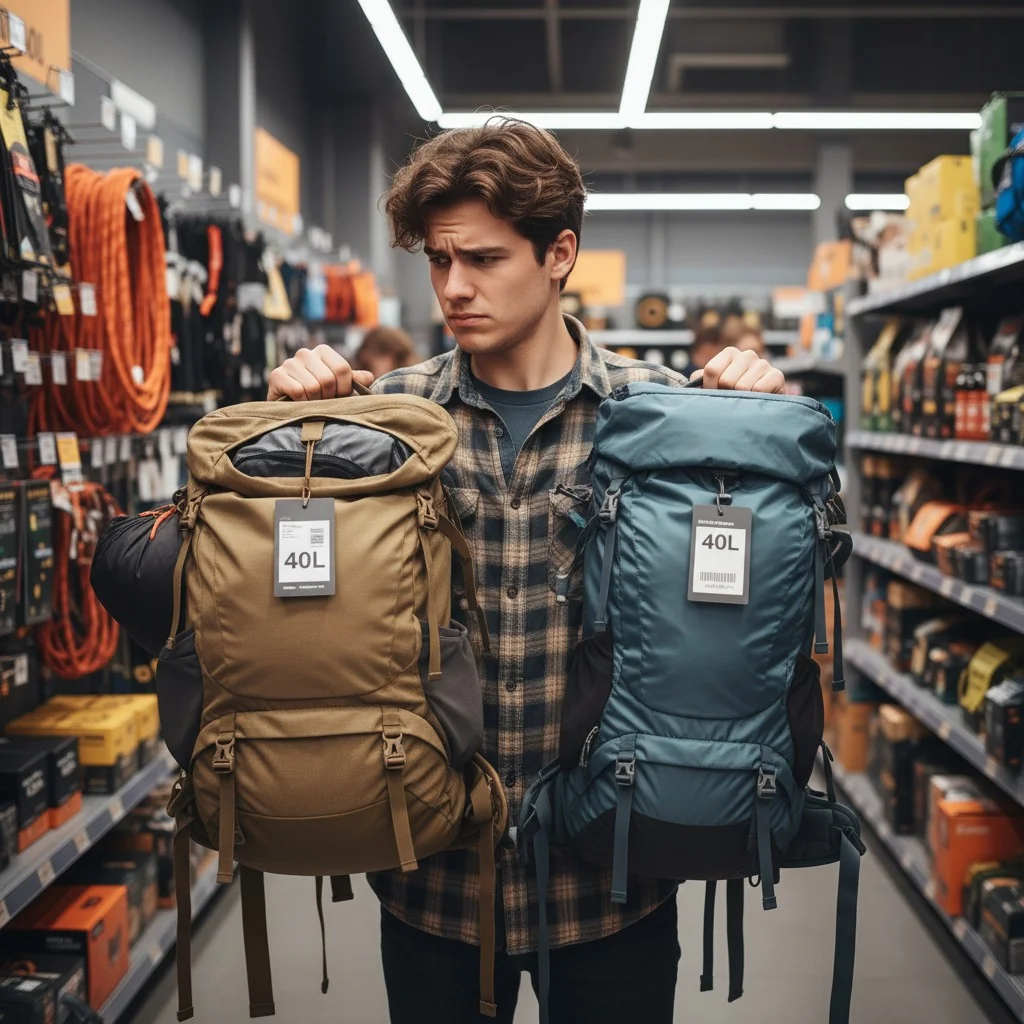
As a brand owner, consistency is everything. Understanding why these numbers vary will help you communicate better with your manufacturers and be more transparent with your customers.
Reasons for Variation
I call this the "liter lie," and it usually happens for a few reasons:
- No Universal Standard: The ASTM F2153 standard is great, but it’s voluntary. Many brands use their own internal methods, which may be more or less generous.
- Inclusion of Pockets: Some brands might include the volume of open mesh pockets in their marketing total to make the number seem bigger, even though it’s not secure space.
- Extended vs. Unextended: A brand might advertise the extended volume (with the collar up) as the main number, while another uses the more conservative unextended volume.
How to Compare Like-for-Like
- Ask Your Supplier: When you get a sample, ask your manufacturer, "How was this volume measured? Did you use the ASTM F2153 standard with 20mm balls?" This shows them you know what you’re talking about.
- Check the Fine Print: Look at the product’s tech pack or website. Does it specify what’s included in the total volume?
- Measure It Yourself: The best way to be sure is to use the fill-and-decant method to test samples yourself. This gives you a true baseline for comparing potential products for your brand.
[claim claim=”All backpack brands are legally required to use the ASTM F2153 standard for measuring volume.” istrue=”false” explanation=”The ASTM standard is voluntary, not mandatory. This is a primary reason why liter ratings can be inconsistent between different brands.”]
[claim claim=”When comparing backpacks, you should ask suppliers about their measurement methodology.” istrue=”true” explanation=”Asking if they follow a standard like ASTM F2153 helps you understand if you are comparing apples to apples, ensuring you source products that meet your specifications.”]
Conclusion
Now you can measure backpack volume accurately. This knowledge empowers you to verify specs, communicate clearly with suppliers, and build trust with your customers by delivering exactly what you promise.
References
-
Understanding the reasons behind varying liter ratings helps in making informed purchasing decisions and comparisons. ↩
-
Knowing how volume is calculated helps in sourcing the right products and understanding brand specifications. ↩
-
Clear and accurate specifications build customer trust and reduce returns, making them vital for brand success. ↩
-
This standard provides a consistent method for measuring backpack volume, helping brands ensure accurate product specifications. ↩
-
Recognizing which compartments count towards volume ensures accurate product descriptions and customer satisfaction. ↩
-
Using the right fill material is essential for accurate measurements, impacting product quality and customer trust. ↩