Struggling to stay hydrated during your adventures without constant stops? A hydration pack1 is the solution, but using it right is key. Let’s unlock its full potential for you.
Effectively using a hydration backpack involves more than just filling it with water. It’s about choosing the right pack for your activity, ensuring a proper fit to prevent bouncing, and performing regular cleaning to maintain hygiene and performance for hands-free hydration on the go.
As a bag enthusiast who has worked with countless brands, I’ve seen hydration packs evolve from a niche item to a must-have for outdoor lovers. Their design seems simple, but the details are what make a good pack great.
For brand owners like you, understanding these details is crucial for creating a product that customers will love and trust. It’s not just about carrying water; it’s about enhancing the user’s experience, whether they’re on a rugged trail or a long bike ride. Let’s dive into how these packs work and how to get the most out of them.
[claim claim=”All hydration pack bladders are made from the same type of plastic.” istrue=”false” explanation=”Bladders are made from various materials, including TPU (Thermoplastic Polyurethane) and PEVA (Polyethylene Vinyl Acetate), often with added features like antimicrobial coatings.”]
[claim claim=”Hydration packs can help you drink more water during exercise compared to bottles.” istrue=”true” explanation=”The convenience of the drinking tube encourages more frequent, smaller sips, which can lead to better overall hydration and performance.”]
What is a Hydration Backpack and How Does it Work?
Confused about how these packs deliver water hands-free? The mechanism might seem complex, but it’s actually a simple, brilliant system. Let’s break it down for you.
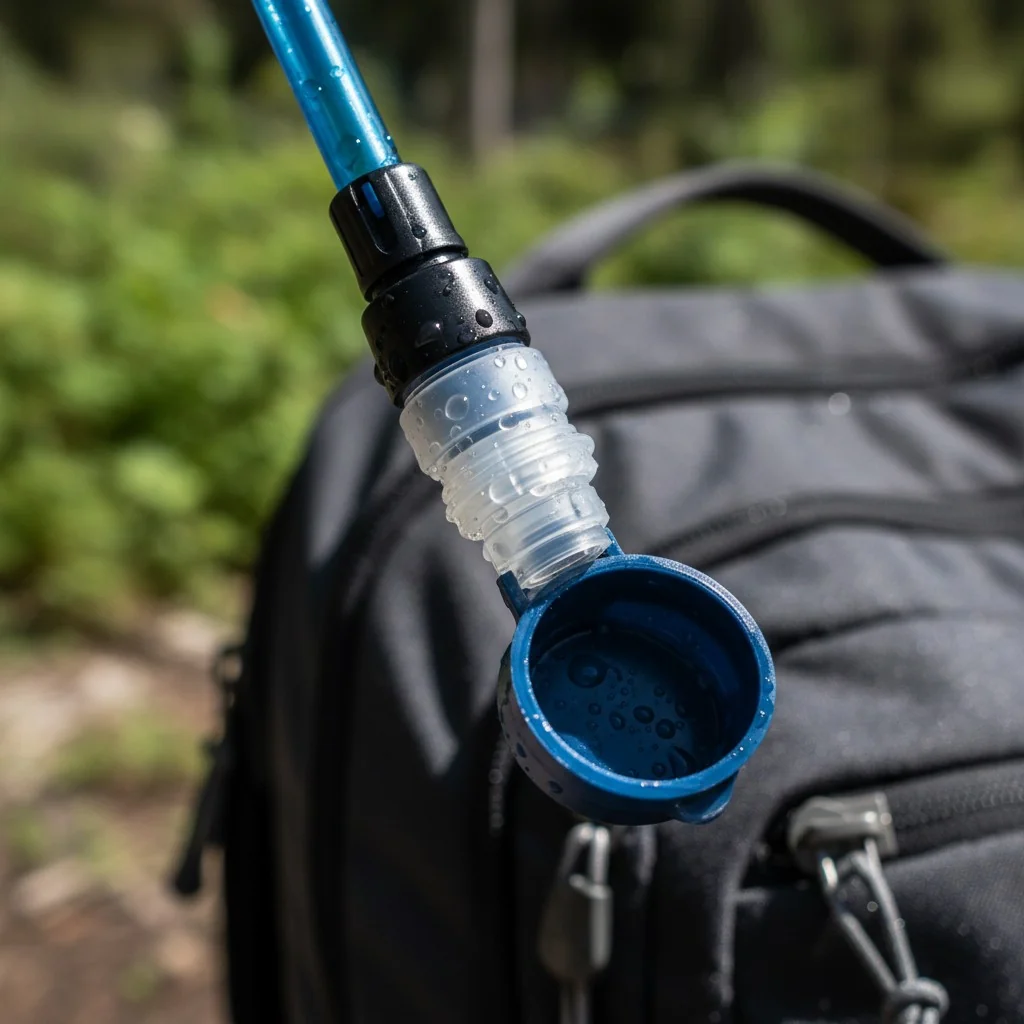
A hydration backpack is a specialized bag containing a water reservoir2, or "bladder," connected to a flexible drinking tube. It works by using gravity and suction, allowing you to sip water through a bite valve at the end of the tube without using your hands.

When I first started in the bag industry, I was fascinated by the simple genius of the hydration pack. It’s a system with four key parts that work together seamlessly. Understanding these components is the first step for any brand owner looking to design a quality pack.
The Core Components
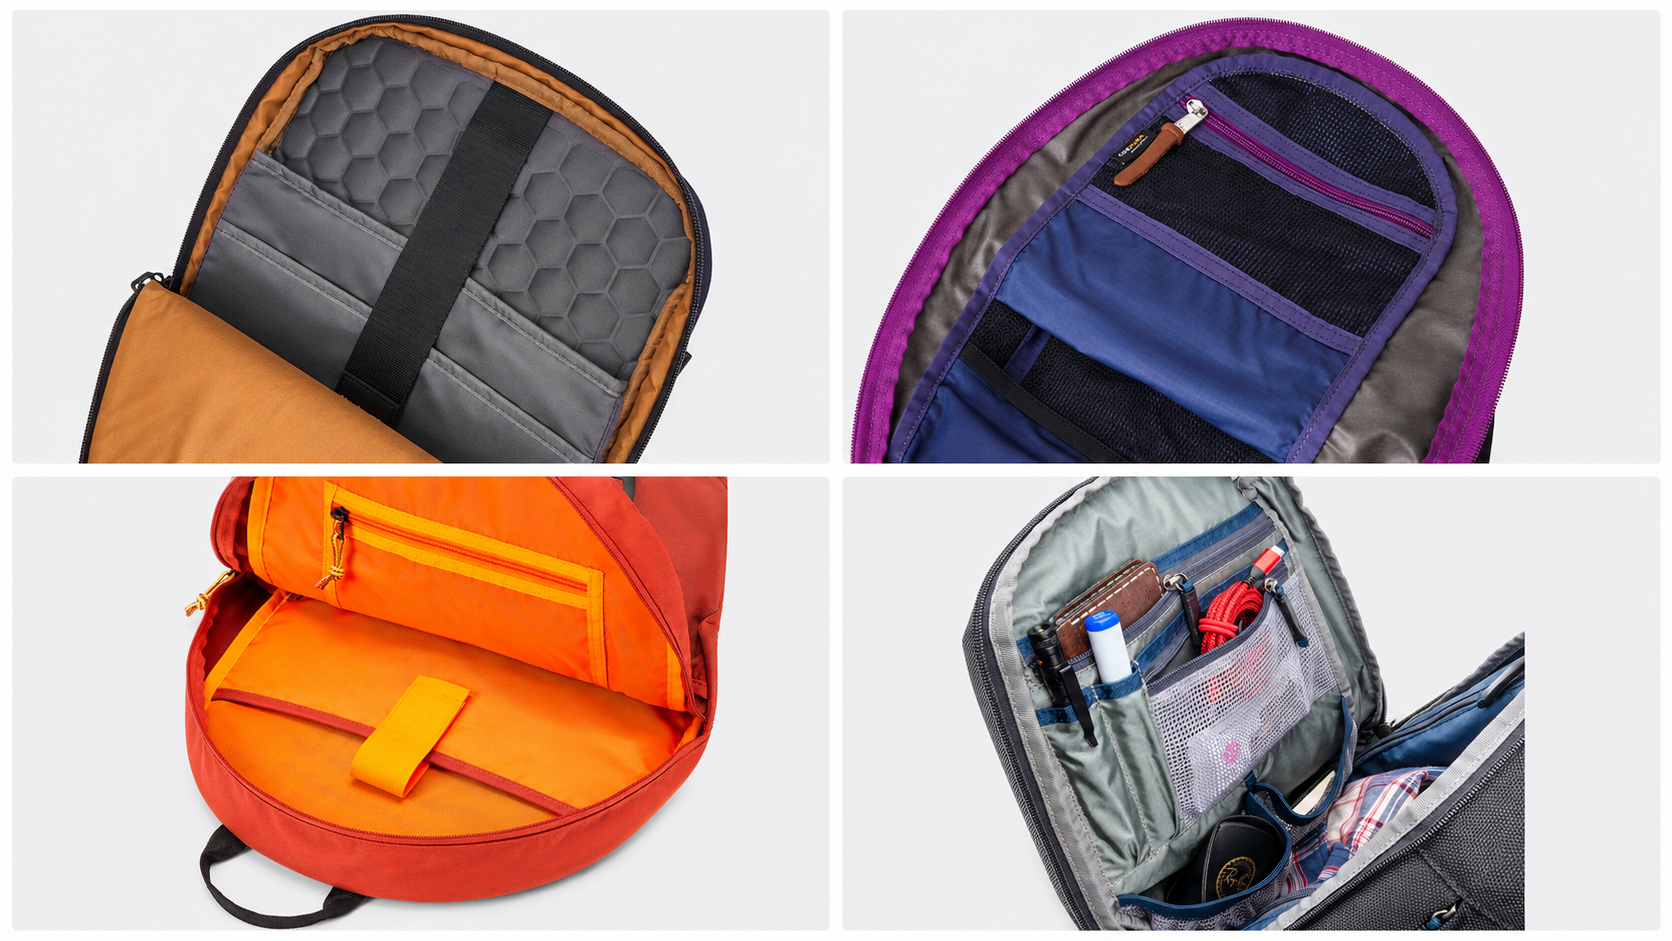
- The Backpack: This is the shell that holds everything. Modern packs are designed for specific activities, with features like extra pockets, ventilated back panels, and lightweight materials.
- The Bladder (or Reservoir): This is the flexible container that holds the water. Early versions were basic, but today’s bladders often feature antimicrobial coatings3 to keep them hygienic, a key selling point I always recommend to my clients.
- The Hose (or Tube): This tube connects the bladder to the bite valve4, running over your shoulder for easy access.
- The Bite Valve: This is the mouthpiece. A gentle bite opens the valve, allowing you to sip water. It self-seals when you release it to prevent leaks.
| Component | Function | Key Design Consideration |
|---|---|---|
| Backpack | Carries the bladder and other gear | Ergonomics, ventilation, and storage capacity |
| Bladder | Holds the water | Material (TPU/PEVA), antimicrobial properties, opening type |
| Hose | Transports water to the user | Length, insulation (for cold weather), quick-disconnects |
| Bite Valve | Controls water flow | Flow rate, locking mechanism, ease of use |
[claim claim=”You have to suck very hard to get water out of a hydration pack.” istrue=”false” explanation=”Modern bite valves are designed for a high flow rate with minimal effort. A gentle bite is usually all that’s needed to start the flow of water.”]
[claim claim=”The first hydration pack, the CamelBak, was invented in 1989 for a bike race.” istrue=”true” explanation=”Paramedic Michael Eidson created the first hands-free hydration system for a 100-mile road race, using an IV bag, a tube, and a sock.”]
Why Choose a Hydration Backpack Over a Traditional Water Bottle?
Sticking to water bottles seems easier, right? But stopping to grab your bottle breaks your momentum and can be a real hassle. There is a much better way to hydrate.
A hydration backpack offers continuous, hands-free hydration, which is vital for performance. It holds more water than most bottles, distributes weight evenly on your back, and eliminates interruptions, making it superior for long-duration or intense activities.
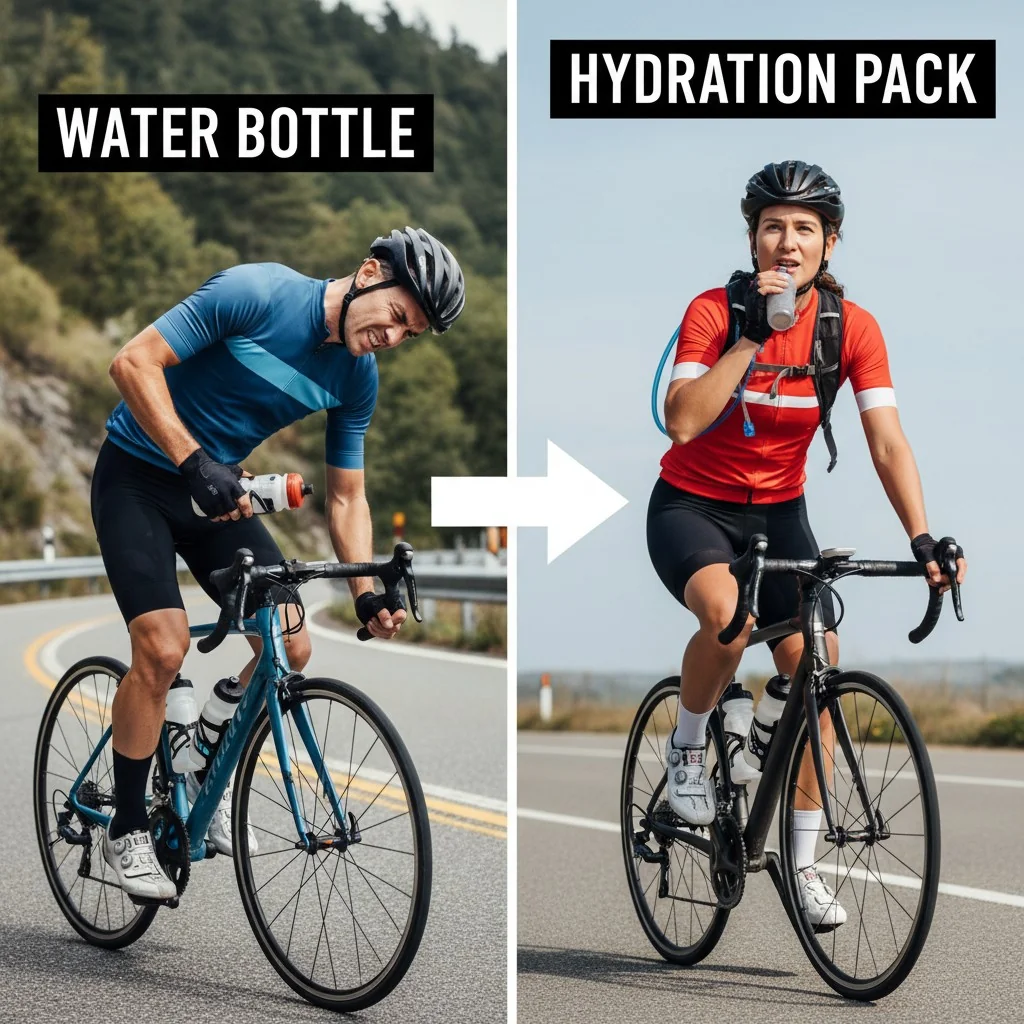
In my work with athletes and outdoor brands, the feedback is always the same: convenience is king. For activities where your hands are busy, like cycling or trail running, a hydration pack isn’t just a luxury; it’s a performance and safety tool. You can drink while navigating tricky terrain or maintaining your pace, which is something a bottle just can’t offer. This continuous access to fluids is crucial for preventing dehydration, which can quickly impact performance.
Head-to-Head Comparison
Let’s look at how they stack up. For brand owners, highlighting these differences can be a powerful marketing tool.
| Feature | Hydration Backpack | Traditional Water Bottle |
|---|---|---|
| Convenience | Hands-free, sip anytime | Requires stopping or fumbling |
| Capacity | High (1.5L – 3L+) | Low (0.5L – 1L) |
| hydration style5 | Frequent, small sips | Infrequent, large gulps |
| weight distribution6 | Centered and stable on the back | Unbalanced, in hand or side pocket |
| Best For | Long, continuous activities | Short workouts, casual use |
The ability to sip consistently helps your body absorb water more efficiently. This is a key insight I share with brands looking to enter the performance gear market. It’s not just about carrying water; it’s about optimizing hydration.
[claim claim=”Hydration packs make water taste like plastic.” istrue=”false” explanation=”While this was an issue with older models, modern bladders are made from taste-free materials like TPU and are often treated to prevent plastic taste.”]
[claim claim=”Using a hydration pack can reduce the perceived effort of an exercise.” istrue=”true” explanation=”Studies suggest that the ease of hydration and better fluid balance can lead to a lower rate of perceived exertion, making workouts feel easier.”]
How to Choose the Right Hydration Pack for You?
With so many options on the market, choosing the right pack can feel overwhelming. A wrong choice means discomfort and a poor experience. Let’s find the perfect match for your customers.
To choose the right hydration pack, first consider the primary activity (running, hiking, cycling). Then, match the pack’s capacity (both for gear and water) to the duration of the activity. Finally, check for a comfortable, adjustable fit.

I’ve seen a growing trend in specialized hydration packs. A pack designed for a marathon runner is very different from one for a multi-day hiker. As a brand owner, understanding these nuances allows you to target specific customer segments effectively.
Key Factors to Consider
-
- Running: Look for minimalist, vest-style packs that fit snugly to prevent bouncing. They have small pockets for gels and keys.
- Hiking: These packs are larger, with more room for gear like rain jackets and food. They often have a more robust harness system and a hip belt.
- Cycling: These are often streamlined and aerodynamic, with a low profile that won’t interfere with a helmet.
-
Capacity:
- Reservoir Capacity: 1.5L is good for short trips (1-2 hours). 2L is a versatile all-rounder. 3L is for long, all-day adventures.
- Gear Capacity: Measured in liters, this is the space for everything else. A 2-5L pack is for running, while a 10-20L+ pack is better for hiking.
-
- Look for adjustable shoulder, chest (sternum), and hip straps.
- A ventilated mesh back panel is a must-have feature to reduce sweat and improve comfort.
| Activity | Recommended Reservoir Size | Recommended Gear Capacity | Key Features |
|---|---|---|---|
| Trail Running | 1.5L – 2L | 2L – 7L | Vest-style fit, front pockets, lightweight |
| Day Hiking | 2L – 3L | 10L – 20L | Padded shoulder straps, hip belt, gear loops |
| Mountain Biking | 2L – 3L | 5L – 15L | Tool organization, helmet carry, stable fit |
[claim claim=”One size hydration pack fits all.” istrue=”false” explanation=”Fit is crucial. Many brands offer different torso lengths and women-specific designs to ensure a comfortable, bounce-free fit for different body types.”]
[claim claim=”The color of your hydration pack can affect water temperature.” istrue=”true” explanation=”Dark-colored packs absorb more sunlight and can heat the water inside faster than light-colored packs, especially on hot, sunny days.”]
Best Activities for Using a Hydration Backpack?
Wondering if a hydration pack is right for your customers’ favorite activities? Using one in the wrong context can be overkill. Let’s clarify where these packs truly shine.
Hydration backpacks are best for activities where continuous movement is key and your hands need to be free. This includes hiking, trail running, mountain biking, skiing, and long-distance cycling, where stopping for a water bottle is impractical or unsafe.

From my experience in product development, the best designs solve a specific problem. The problem hydration packs solve is "interrupted performance." They excel in any scenario where stopping to drink is a disadvantage.
Top Activities and Why They’re a Perfect Match
-
Hiking and Trekking: On a long hike, especially with trekking poles, your hands are occupied. A hydration pack allows you to drink without breaking your stride or taking off your pack. It’s about maintaining rhythm and energy over many miles.
-
Trail Running: For runners, momentum is everything. A lightweight hydration vest fits like a piece of clothing, eliminating bounce and allowing for quick sips on the move. It’s essential for staying hydrated during long runs without losing precious seconds.
-
Mountain Biking and Cycling: Safety is paramount here. Taking a hand off the handlebars to grab a bottle can be dangerous on uneven terrain. A hydration pack lets you drink while maintaining full control of your bike.
-
Skiing and Snowboarding: Fumbling with a water bottle while wearing bulky gloves in the cold is no fun. Many packs offer insulated hoses to prevent the water from freezing, making them a perfect solution for winter sports.
[claim claim=”Hydration packs are only for elite athletes.” istrue=”false” explanation=”While athletes use them for performance, they are just as beneficial for casual hikers, families on outings, and anyone who wants convenient, hands-free hydration outdoors.”]
[claim claim=”You can use a hydration pack for drinks other than water.” istrue=”true” explanation=”You can put sports drinks in a bladder, but it’s crucial to clean it thoroughly immediately after use to prevent sugar buildup and mold growth.”]
How to Fill and Maintain Your Hydration Backpack for Maximum Performance?
A dirty bladder can ruin your water’s taste and even make you sick. Proper maintenance seems like a chore, but it’s simple and essential for performance and the pack’s lifespan.
To maintain your pack, rinse the bladder after each use and let it dry completely. For a deep clean, use specialized cleaning tablets or a mix of baking soda and water. Proper cleaning prevents bacteria and mold, ensuring your water always tastes fresh.

I always tell brands that durability and ease of maintenance are huge selling points. A customer who can easily clean their pack is a happy, repeat customer. The evolution of materials, like antimicrobial coatings, has helped, but good habits are still the most important factor.
A Simple Maintenance Routine
Follow these steps to keep your hydration system in top shape.
-
Filling:
- Open the bladder and hold it upright.
- Fill with water, but not so full that it’s hard to seal.
- Seal the bladder and turn it upside down to get the air out. Squeeze the bladder and suck the air through the tube until only water comes out. This prevents sloshing.
-
Cleaning and Drying:
- After Every Use: Rinse the bladder with warm, soapy water. Prop it open to air dry completely. You can use a bladder hanger or even stuff it with paper towels. Drying is the most important step to prevent mold.
- Deep Cleaning: For a more thorough clean, use a cleaning tablet or a long brush kit designed for bladders and tubes. A DIY solution of baking soda or diluted lemon juice also works well to remove any lingering tastes or odors.
| Frequency | Cleaning Task | Why It’s Important |
|---|---|---|
| After Each Use | Rinse with warm water and dry completely. | Prevents immediate bacteria and mold growth. |
| Weekly (if used often) | Clean with mild soap and water. | Removes any residue or buildup. |
| Monthly/As Needed | Deep clean with a tablet or brush. | Sanitizes the system and removes tough stains or tastes. |
[claim claim=”Storing your water bladder in the freezer will damage it.” istrue=”false” explanation=”Storing your clean, dry bladder in the freezer is a popular and effective trick to prevent any residual moisture from growing mold or bacteria between uses.”]
[claim claim=”You should only use branded cleaning tablets for your bladder.” istrue=”true” explanation=”While DIY solutions work, using tablets from the manufacturer ensures compatibility with the bladder’s materials and often provides a more effective, targeted cleaning.”]
How to Adjust the Fit and Comfort of Your Hydration Backpack?
An ill-fitting pack that bounces, chafes, and throws you off balance can ruin a great day outdoors. Let’s get that pack fitting like it was made for you.
To adjust your pack, first loosen all straps. Put it on and tighten the hip belt first to place the weight on your hips. Then, snug up the shoulder straps, and finally, adjust the sternum strap across your chest for stability.

In my design consultations, I stress that ergonomics are not an afterthought—they are central to the user’s experience. Advances in design have led to incredibly comfortable and customizable packs. Features like ventilated back panels and adjustable torso lengths are now common, and as a brand, these are features you should be highlighting.
The Step-by-Step Fit Guide
For the perfect, no-bounce fit, follow this sequence:
- Add Weight: Before you start, put about 2L of water and some gear in the pack. Adjusting an empty pack won’t give you a true sense of the fit.
- Hip Belt (If Applicable): For larger packs, this is the most important strap. Position the belt so it rests on top of your hip bones and tighten it. It should carry most of the pack’s weight.
- Shoulder Straps: Pull down on the shoulder straps. They should be snug, pulling the pack close to your back, but they shouldn’t be carrying all the weight. There should be no gap between the strap and your shoulder.
- Sternum (Chest) Strap: Slide this strap up or down until it’s at a comfortable height across your chest (usually an inch below your collarbone). Clip it and tighten it just enough to keep the shoulder straps from slipping outwards. You should be able to breathe deeply without restriction.
Modern packs often feature mesh back panels that create an air channel between your back and the pack, which dramatically reduces sweat and increases comfort on long journeys.
[claim claim=”The sternum strap should be tightened as much as possible for stability.” istrue=”false” explanation=”Over-tightening the sternum strap can restrict your breathing. It should be just snug enough to prevent the shoulder straps from slipping off your shoulders.”]
[claim claim=”A properly fitted backpack should place about 80% of its weight on your hips.” istrue=”true” explanation=”For packs with a hip belt, the primary goal is to transfer the load from your shoulders to your stronger hip and leg muscles, which reduces fatigue.”]
How to Drink from a Hydration Pack?
Drinking from a hydration pack is designed to be effortless and convenient, allowing users to hydrate without breaking their stride. The process involves using a bite valve, which connects to a hose that runs directly to the water reservoir (the bladder) inside the pack.

Key Steps for Drinking from a Hydration Pack
| Step | Action | Purpose |
|---|---|---|
| Activate the Bite Valve | Gently bite down on the bite valve to open the flow control. | Allows water to flow through the hose to the mouth. |
| Control Water Flow | Adjust bite pressure for a higher or lower flow rate. | Helps control the amount of water dispensed. |
| Maintain the Valve’s Seal | Ensure the valve is closed when not in use. | Prevents leaks and ensures the bladder remains sealed. |
| Drink on the Go | Drink while walking, running, or biking without stopping. | Allows hands-free hydration during activities. |
Expert Tip: Regularly practice drinking from the hydration pack to become accustomed to the flow rate and improve hydration efficiency while active.
Here’s a deeper dive into how to use it effectively:
-
Activate the Bite Valve:
The bite valve is the key component that allows water to flow from the bladder to your mouth. To drink, you simply bite down gently on the valve, which opens the internal flow control mechanism, allowing water to pass through. The more you bite down, the faster the water flows.
-
Control Water Flow:
Some modern hydration packs come with adjustable bite valves, allowing users to control the flow rate of the water. These features are particularly helpful for athletes who need a steady stream of water during activities such as running or biking. A higher flow rate is ideal for quick sips, while a slower flow rate can help conserve water over longer periods.
-
Maintain the Valve’s Seal:
One of the most common issues with hydration systems is leakage, especially if the bite valve isn’t properly sealed. To avoid this, always ensure the bite valve is closed tightly when not in use. Some systems feature a twist-to-lock mechanism or a simple valve that snaps shut when you stop biting, preventing any leakage from occurring.
-
Optimize Drinking Position:
Hydration packs are designed to be worn close to the body, with the reservoir usually positioned in a comfortable spot like the lower back or between the shoulders. When drinking, it’s important to position the hose and bite valve in an accessible location. Many packs feature hose management systems to keep the hose in place during movement, ensuring that it doesn’t interfere with your activity.
-
Drink on the Go:
The real advantage of a hydration pack lies in its hands-free design. By simply biting on the valve, you can take a drink without having to stop your activity, allowing for continuous hydration. This is particularly useful in endurance sports like trail running, cycling, or hiking, where maintaining a steady pace is essential, and stopping for a drink would break your rhythm.
Expert Tip: To ensure optimal hydration, drink small amounts frequently rather than waiting until you feel thirsty. This will help maintain consistent hydration levels and improve your endurance during physical activities.
How Do You Dry a Hydration Pack Bladder?
Proper drying of a hydration pack bladder is essential to prevent mold, mildew, and unpleasant odors. The moist, enclosed environment of the bladder and hose can create the perfect conditions for bacteria to grow, especially if it’s left wet.
To dry a hydration pack bladder, first rinse it with clean water immediately after use to remove any remaining liquid. Then, turn the bladder inside out for better airflow, and hang it upside down in a well-ventilated area or use a drying rack. Make sure the hose is also dried by hanging it with the bite valve facing downwards, and store the bladder open to ensure it fully dries and prevents mold growth. Always ensure the bladder is completely dry before storing it to avoid bacteria buildup.

Quick Drying Guide for Hydration Pack Bladder
| Step | Action | Purpose | Tools Needed |
|---|---|---|---|
| Rinse After Use | Fill the bladder with clean water and rinse. | Removes any remaining water or drink residue. | Clean water |
| Turn the Bladder Inside Out | Flip the bladder inside out for better drying. | Ensures airflow and prevents moisture buildup. | No additional tools |
| Hang the Bladder Upside Down | Use a drying rack or hang the bladder in a well-ventilated area. | Facilitates drying and prevents mold. | Drying rack or hanging system |
| Dry the Hose | Hang the hose with the bite valve facing downward. | Drains any leftover water and ensures it dries. | Hose drying brush or towel |
| Store Open for Ventilation | Keep the bladder open while storing. | Prevents moisture from lingering and causing odor. | Dedicated storage bag (optional) |
Here are some detailed steps to ensure your hydration bladder stays clean and dry:
-
Rinse Immediately After Use:
The first step in keeping your hydration bladder clean is to rinse it immediately after use. After you finish your activity, fill the bladder with clean water, and slosh it around to remove any remaining liquid. Pour out the water and rinse a few more times, especially if you’ve used flavored sports drinks or anything that could leave residue.
-
Turn the Bladder Inside Out:
The most effective way to dry a bladder is to turn it inside out. This provides better airflow, especially to the areas that are harder to reach with a cleaning brush. Many modern hydration packs come with bladders that have a wide opening for this purpose, allowing users to turn them inside out easily. Be careful to avoid damaging any seals or valves during this process.
-
Use a Cleaning Kit:
If you find that simply rinsing isn’t enough, you can use a hydration pack cleaning kit, which typically includes a brush, cleaning tablets, and a drying rack. The brush is designed to clean the interior of the bladder and hose, while the cleaning tablets help remove any buildup of mineral deposits or bacteria. Make sure to clean all parts of the hydration system, including the hose and bite valve, as these can also trap moisture and lead to bacteria growth.
-
Drying the Bladder:
Once the bladder is turned inside out and cleaned, place it in a well-ventilated area to dry completely. It’s important to let it air dry thoroughly, as a damp environment can lead to mold growth. Hang the bladder upside down or use a dedicated drying rack. Many hydration systems come with drying racks specifically designed to hold the bladder open, which promotes airflow and speeds up the drying process.
-
Drying the Hose:
After cleaning the hose, hang it with the bite valve facing downwards. This allows any remaining water to drain out. You can also use a long, flexible drying brush that can be inserted into the hose to wipe the interior and ensure it dries fully. Some people even insert a small towel or cloth into the hose and leave it overnight to absorb moisture.
-
Avoid Storing Wet:
Never store your hydration pack bladder while it’s still wet, as this can lead to bacteria and mold growth. If you need to store it immediately, open the bladder fully and place it in a dry, cool area. Using a dedicated storage bag that keeps the bladder open can help maintain airflow and prevent it from becoming damp.
Expert Tip: If you’re not using the bladder for an extended period, store it with a small amount of baking soda or a sterilizing tablet inside to keep it fresh and prevent odors. This method can also help in removing any residual taste from previous use.
By following these steps, you can ensure that your hydration pack remains in optimal condition and is ready for your next adventure, free from bacteria or mildew.
Conclusion
Mastering your hydration pack—from choosing the right one to proper maintenance—ensures you stay hydrated and comfortable, elevating every adventure. It’s a true game-changer for outdoor enthusiasts.
References
-
Understanding hydration packs is essential for outdoor enthusiasts looking to stay hydrated hands-free. ↩
-
Learn about the water reservoir’s role in hydration packs for effective hydration during activities. ↩
-
Explore how antimicrobial coatings keep hydration packs hygienic and safe for use. ↩
-
Discover the functionality of bite valves and how they enhance the hydration experience. ↩
-
Find out how different hydration styles can impact your performance during outdoor adventures. ↩
-
Learn about the importance of weight distribution for comfort and efficiency during use. ↩
-
Understanding activity-specific designs helps in choosing the right hydration pack for your needs. ↩
-
A proper fit is crucial for comfort and performance; learn how to adjust your hydration pack. ↩