A broken backpack strap1 can turn a comfortable hike into a miserable haul or render a favorite commuter bag useless. Whether it’s a snapped buckle, a frayed end, or a strap that has ripped clean out of the seam, you don’t necessarily need to buy a new bag.
This guide provides industrial-standard repair protocols—the same methods used in manufacturing—to help you fix your gear permanently.
Quick Answer: Summary of Repair Methods
For a fast solution, identify your problem and apply the corresponding industry fix:
- Frayed Webbing2: Cauterize (melt) the raw edges with a lighter to seal the nylon fibers.
- Broken Buckle: Replace with a "Split-Bar" Field Repair Buckle (no sewing required).
- Detached Strap (Seam Rip): Re-attach using a Box-X Stitch pattern with Tex 40 Bonded Nylon Thread.
- Slipping Adjuster: Clean webbing oils with soap or use the "Double-Back" threading method to increase friction.
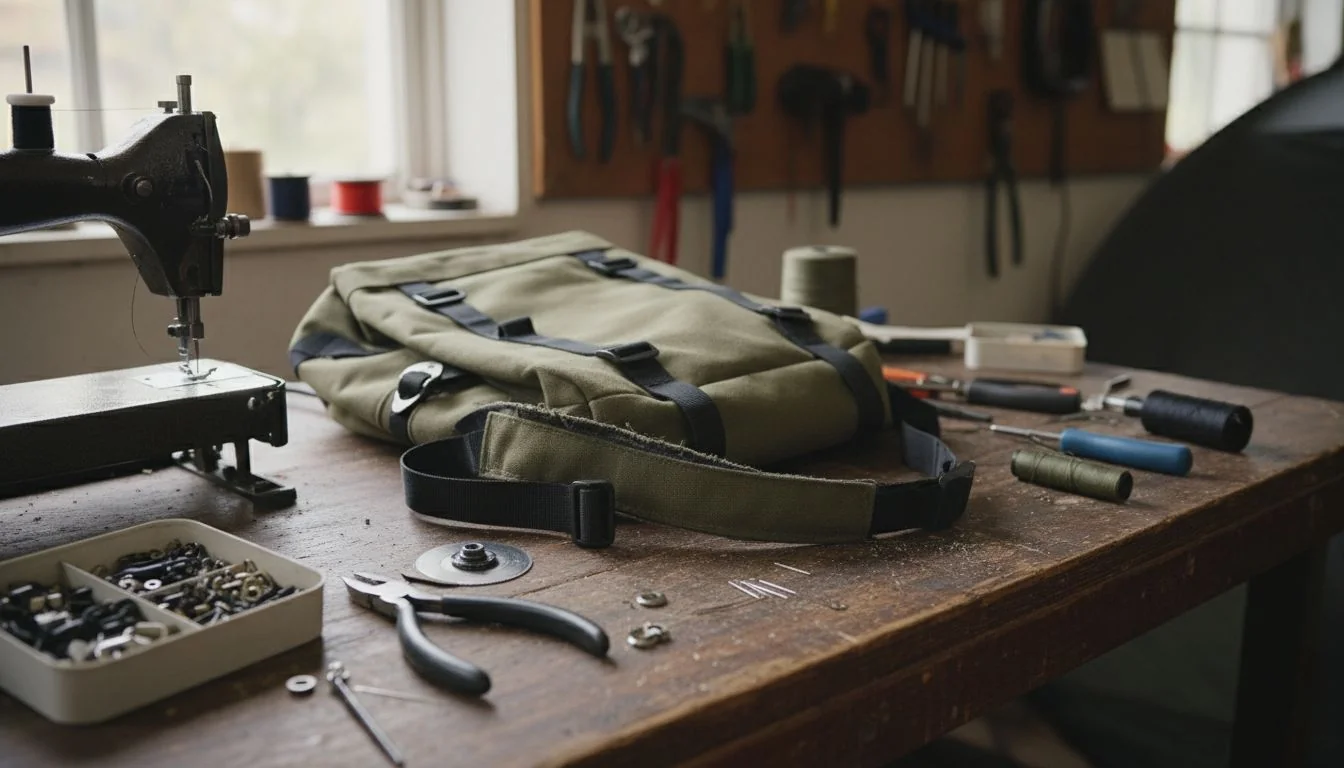
Diagnosis: Identify Your Failure Type
At Osgoodway, we see many bags come back for analysis. We use a decision matrix to decide how to fix them. You should do the same at home. This saves you time and prevents you from buying tools you do not need. Please look at the table below to find your specific issue.
| Damage Symptom | Root Cause | Required Tool/Part | Difficulty Level |
|---|---|---|---|
| Fuzzy/Unraveling Edges | Webbing weave failure | Lighter / Heat Source | Low (DIY) |
| Cracked Clip/Buckle | Impact damage or plastic fatigue | Split-Bar Repair Buckle | Low (No-Sew) |
| Strap Pulled Out of Bag | Tensile overload / Stitch failure | Needle, Nylon Thread, Thimble | High (Sewing) |
| Strap Won’t Stay Tight | Low friction / Worn teeth | Degreaser or Safety Pin | Low (DIY) |
Actionable Tip:
If your strap is just fuzzy, you have a weave failure. This is easy to fix.
If the plastic part is cracked, you have hardware fatigue. This requires a new part.
If the strap has pulled completely out of the bag, this is a tensile overload.
This is the hardest fix because it involves sewing. Identifying the root cause is the first step in our manufacturing process, and it should be your first step too.
Protocol A: How Do I Fix Frayed or Snapped Webbing?
Fuzzy strap edges look bad and weaken the bag. If ignored, the strap will snap. You must stop the unraveling before it destroys the entire strap.
Synthetic webbing like Nylon or Polyester must be heat-sealed to stop unraveling. Trim the loose threads, then carefully use a lighter to melt the edge into a hard bead.

When we cut straps in the Osgoodway factory, we use a machine called a "Hot Cutter." This machine cuts and melts the edge at the same time. You can do this at home with a simple lighter.
Step-by-Step Repair:
- Trim: Use sharp scissors to cut away the fuzzy, loose threads until you have a clean, straight line across the webbing.
- Melt: Hold a lighter flame near the edge (do not let the flame touch the fabric directly) for 2-3 seconds.
- Seal: Watch the fibers closely. You will see them melt into a hard plastic bead. Do not burn it black. If it turns black, you are burning it, not melting it.
- Cool: Let it harden for 60 seconds. Do not touch it while it is hot.
This creates a permanent seal. It stops the weave from coming apart. This is the industry standard for treating raw edges.
Protocol B: How Can I Replace a Broken Buckle Without Sewing?
A broken buckle doesn’t mean the end of your backpack. While most people lack heavy-duty sewing machines, there’s an easy solution: a "Split-Bar" or "Field Repair" buckle. Simply snip off the old plastic buckle and slide the new one’s split bar over the existing webbing loop until it clicks into place.
Many users mistakenly think they need to cut the strap and resew it, but this isn’t necessary. The Split-Bar Repair Buckle has a small gap that allows you to attach it to the sewn loop without undoing any stitching.
Installation Steps:
- Remove: Use wire cutters or pliers. Cut the old, broken plastic buckle off the strap loop. Be careful not to cut the fabric loop itself.
- Align: Get your new Split-Bar buckle. Make sure it is the right size (usually 25mm or 1 inch). Position it over the loop.
- Snap: Slide the fabric loop through the gap in the buckle’s bar. Push firmly until it snaps securely into place.
- Thread: Re-thread the loose webbing strap through the new adjuster.
This repair is stronger than the original in many cases. It takes less than five minutes. It is the preferred method for field repairs.
Protocol C: How Do I Re-Attach a Ripped Strap Using the Box-X Stitch?
If a strap tears out of the main seam, a simple straight stitch will fail immediately under load. You must replicate the industrial reinforcement stitch known as the Box-X.This creates a square with an X inside, distributing weight evenly across the fabric. Use Tex 40 bonded nylon thread3 to ensure the stitch does not break under load.
Why the Box-X Stitch? According to load-bearing standards, a Box-X distributes tensile force across four corners and a center intersection. This prevents the needle holes from acting as a “tear strip” that perforates the fabric.
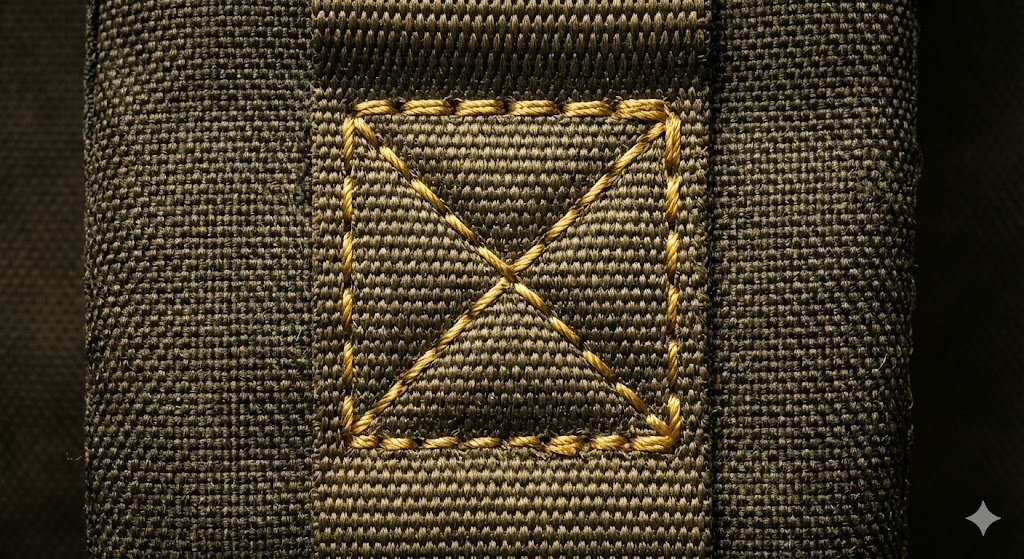
A straight line of stitching will not suffice if the strap tears out of the seam—it will rip again. The Box-X stitch, which Osgoodway uses on all stress points, reinforces the fabric and ensures lasting durability.
Sewing Instructions:
- Thread Selection: Crucial. Do not use cotton thread. Use 100% Bonded Nylon or Polyester Upholstery Thread (Tex 40 weight or higher).
- Position: Insert the strap at least 1 inch deep into the seam or onto the anchor point.
- The Box: Sew a square perimeter attaching the strap to the bag body. Go over the lines twice if possible.
- The X: Sew diagonally from corner to corner inside the box.
This pattern locks the strap in place. It handles pulling forces from all directions. It is the strongest stitch for this application.
Protocol D: How to Fixing a Slipping Strap Adjuster?
This is usually a friction issue, not a broken part. If the webbing is too smooth or dirty, the buckle’s teeth cannot grip it.
The Fix:
- Wash the Strap: Oils and dirt smooth out the friction ridges. Wash the strap thoroughly with dish soap and warm water to restore the texture.
- The "Double-Back" Method: If the buckle design allows, thread the excess strap end back through the top slot of the buckle. This locks the webbing in place using its own friction.
Alternative Solutions: What Should I Do When DIY Repair Fails?
Sometimes the damage is too severe for a home repair. You need to know when to stop. Safety is more important than saving a few dollars.
If the main fabric is dry-rotted or the frame is broken, DIY is unsafe. Visit a shoe cobbler for industrial sewing, check the manufacturer’s warranty, or recycle the bag if the material crumbles to the touch.

There are times when I advise against fixing a bag yourself. If the damage involves the bag’s main waterproofing or structural frame, DIY may not be safe. You have a few good alternatives.
- The "Cobbler" Hack: Most standard tailors cannot handle thick backpack straps because their needles will break. Shoe cobblers, however, possess heavy-duty industrial "walking foot" sewing machines capable of stitching through thick leather and high-density foam. They are often the best and cheapest professional option ($15-$30).
- Warranty Claims: Before DIYing (which might void a warranty), check the brand. Companies like Osprey, Patagonia, and JanSport have famous lifetime warranties and often repair straps for free.
- Total Replacement: If the fabric feels sticky or crumbles when you touch it, the chemical coating has failed. This is the end of the bag’s life. You cannot fix dry rot4. In this case, it is time to recycle the bag and get a new one.

FAQ: Common Backpack Strap Questions
You might still have specific doubts about glues or slipping straps. Here are the quick facts. I want to clear up common myths.
Do not use Super Glue on straps; it cracks when flexed. To stop slipping, wash the webbing to remove oils or replace the adjuster. For sewing, always choose rot-resistant Bonded Nylon thread over cotton to prevent future failure.
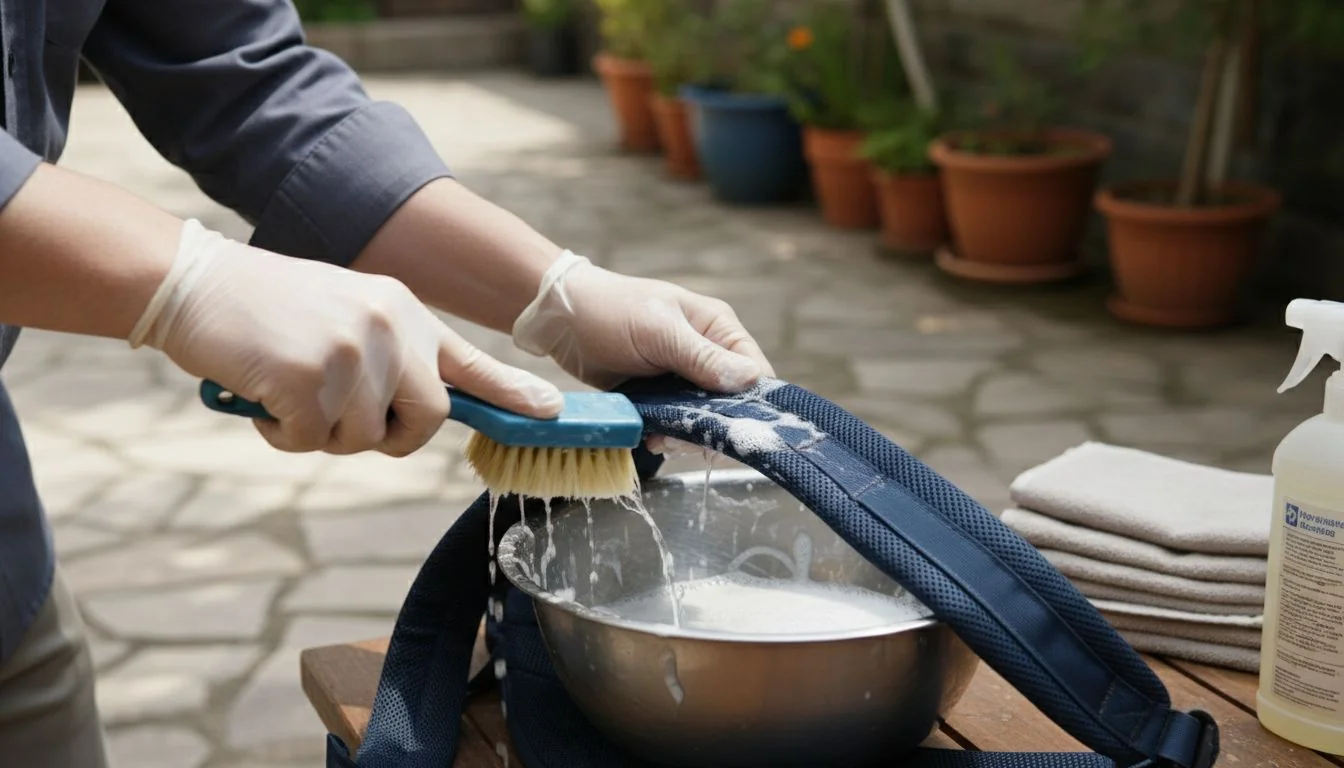
I often get asked these specific questions by clients and friends. Here are the honest answers based on my experience at Osgoodway.
Can I use Super Glue to fix a backpack strap?
No. Super glue (cyanoacrylate) dries rigid and brittle. Backpack straps flex constantly. The movement will crack the glue bond immediately. It leaves a mess that makes proper repair harder. Only sewing or mechanical fasteners work for load-bearing parts.
How do I stop my backpack strap from slipping?
Slippage is often caused by oil and dirt buildup smoothing out the friction ridges on the strap. Wash the strap with dish soap and warm water. If it still slips, the plastic teeth on the adjuster might be worn down. You will need to replace the plastic adjuster with a new one that has sharper teeth.
What is the best thread for sewing backpacks?
Bonded Nylon (Tex 40 or Tex 69). It is rot-resistant, UV-resistant, and has high tensile strength. In an emergency, dental floss is a viable, strong alternative because it is usually made of nylon too.
Manufacturing Insight: How to Prevent Strap Failure
At Osgoodway, we engineer bags to prevent these failures before they happen. We use automated Bar-Tack machines to reinforce strap insertion points, ensuring they withstand loads far exceeding standard daily use.
When sourcing bags for your brand, always specify:
- Reinforced Stitching: Demand Box-X or Bar-Tack stitching at all stress points.
- Virgin Plastic Hardware: Ensure buckles are made from virgin POM (Polyoxymethylene), not recycled plastic which can be brittle and prone to snapping.
Looking for a manufacturer that understands durability? Contact Osgoodway for custom backpack solutions engineered to last.
References
-
Learn effective techniques to repair a snapped backpack strap and extend its life. ↩
-
Discover the best practices for fixing frayed webbing to prevent further damage. ↩
-
Find out why bonded nylon thread is essential for durable and long-lasting repairs. ↩
-
Understand the implications of dry rot on backpacks and when to replace them. ↩