I’ve been making hiking backpacks in our Fujian factory since 2014, and I can tell you — most first-time buyers ask this question backward. They want a feature checklist before they know what kind of hiker they’re designing for. That’s how you end up with a sample that looks great on paper but gets returns in real use.
This guide is not a product review. It is a sourcing and development decision map for brand managers, e-commerce sellers, and buyers who are about to send a factory a spec sheet or approve a sample.
A well-specified hiking backpack requires six core decisions — suspension and load distribution, fabric and waterproofing, back panel system, compartment layout, frame type, and hardware. Each one carries a direct cost implication. Get one wrong, and it shows up in returns.
There’s no universal "good hiking backpack" feature set. The right combination depends on your target user’s activity type and your brand’s price positioning. A day hiker needs fast top access and a hydration sleeve. A multi-day trekker needs a load-transfer hip belt and a sleeping bag compartment. The key is matching features to use cases before you talk to a factory like ours — not after the first sample lands wrong.
Does Capacity Actually Matter If the Load Distribution Is Wrong?
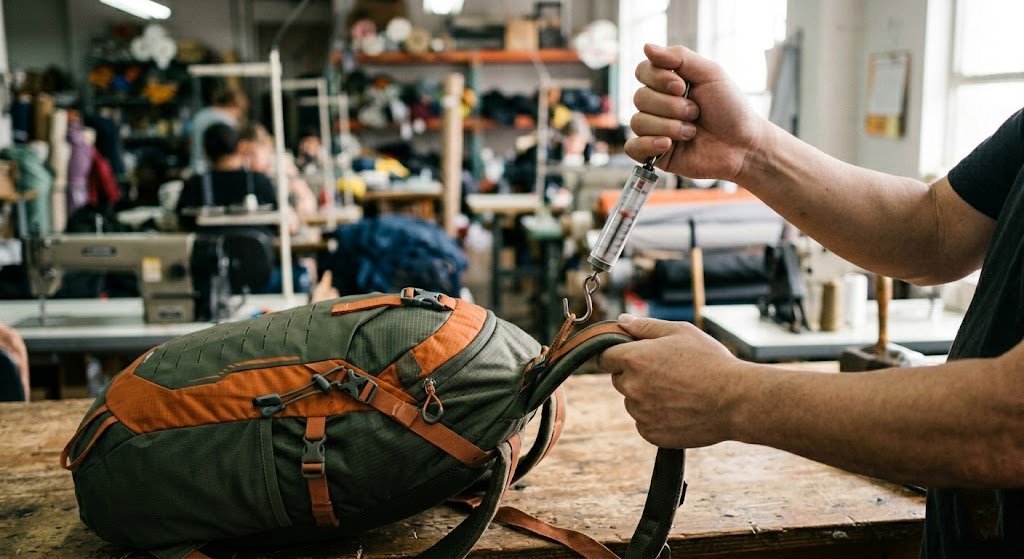
I see this mistake every few months. A buyer locks in a 30L volume, moves straight to fabric and color, and then the sample comes back and the shoulder straps are doing all the work. The hiker carries 8kg, the back hurts after two hours, and the product gets returned.
Capacity and load distribution must be decided together. A 30L pack targeting loaded day hikers needs a hip belt that transfers weight to the hips. A 65L pack for multi-day use needs a full suspension frame. Choosing volume without defining the target load first is one of the most common spec mistakes we see at the sample stage.
Here is how I explain it to buyers at our factory. Volume tells you how much fits inside. Load distribution tells you how the weight moves from the pack to the body. These are two separate engineering decisions, and they have to match the same user scenario.
How do load and volume interact in real use cases?
Let me break it down by user type. This is the same table I use internally when a new client sends us a brief.
| Target User | Typical Load | Recommended Volume | Suspension Need |
|---|---|---|---|
| Day hiker (trail walk) | 3–5 kg | 20–30L | Basic padded straps, optional hip belt |
| Weekend hiker | 6–10 kg | 30–45L | Hip belt with load transfer, back stay |
| Multi-day trekker | 10–18 kg | 50–70L | Full suspension frame, adjustable torso |
| Alpine / technical | 12–20 kg | 40–65L | Rigid internal frame, load lifters |
The Sourcing Mistake That Drives Returns
Buyers targeting the weekend hiker segment consistently underspecify the hip belt to save $1.50–$2.00 per unit at the factory level. A hip belt without a proper load-transfer structure is cosmetic. For any pack carrying above 6 kg, it is the primary weight management component — not a styling add-on.
A 65L pack at a sub-$50 retail price creates a structural problem: that volume requires frame support to hold shape under load. More liters does not mean a better product. It means a more demanding spec requirement.
Are Fabric and Waterproofing Spec Decisions or Just Upgrade Options?

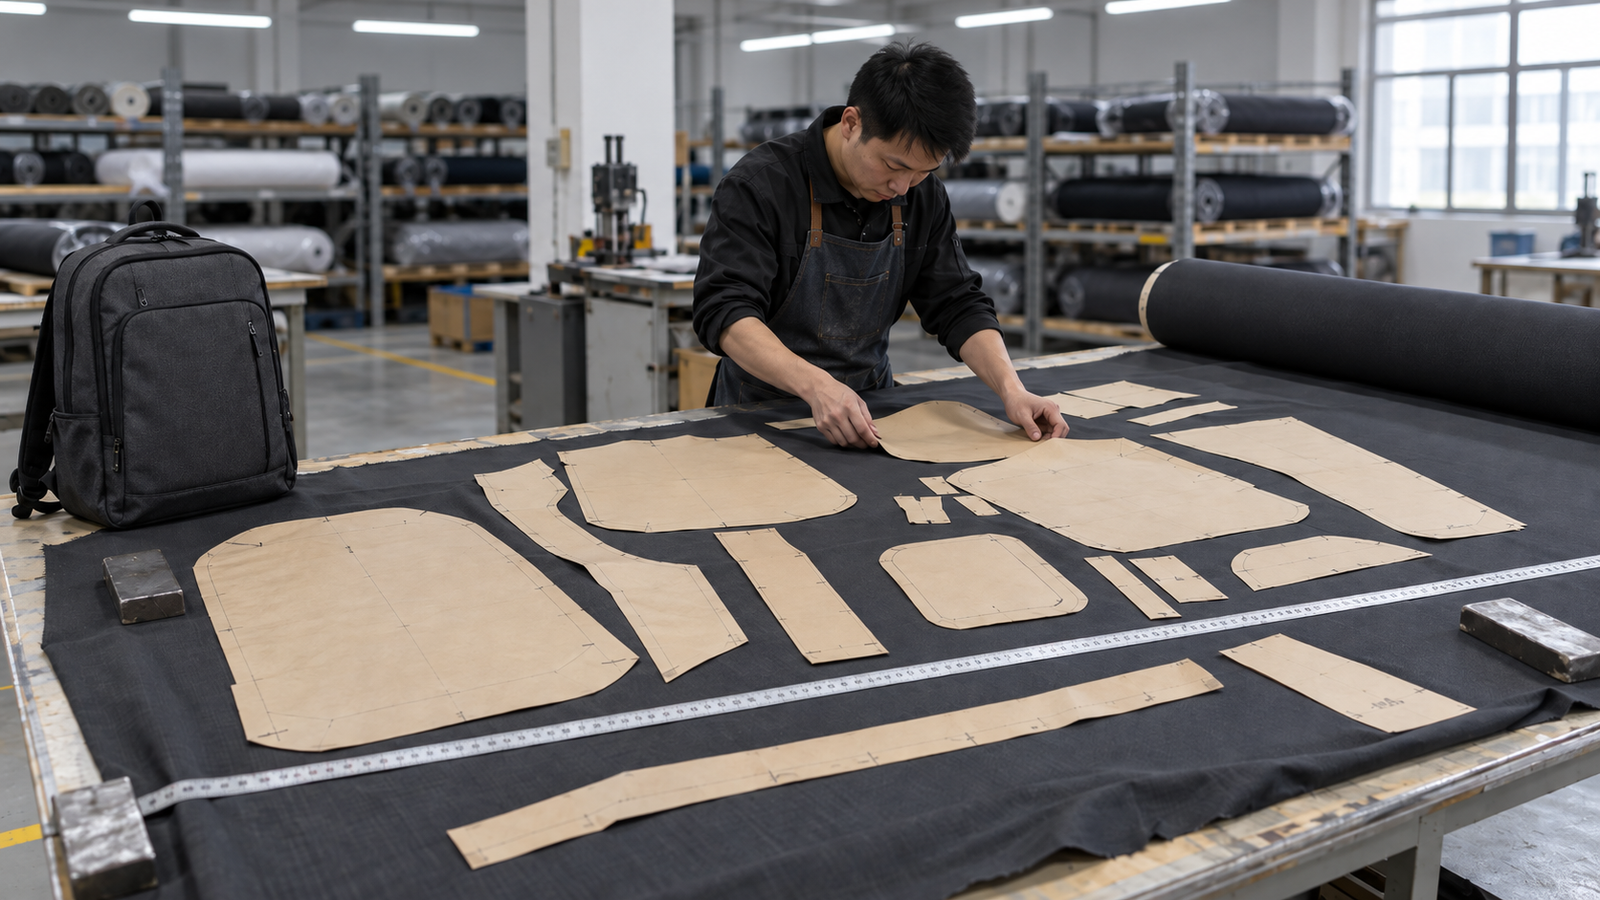
Some buyers treat fabric like a color choice — they pick it at the end. That is the wrong way to think about it. Fabric spec affects durability, weight, cost, and how the pack performs in the field. It also affects whether you can sell into certain markets.
Fabric and waterproofing are core spec decisions that must match the end market’s climate expectations and price point. Common options include 210D nylon ripstop for lightweight builds, 420D for heavier-duty use, DWR coating for water resistance, and IPX-rated zippers for wet conditions. EU market buyers typically specify higher durability standards.
At our factory, we work with buyers across different markets. The EU buyers almost always ask about REACH compliance first. That is a non-negotiable for them — it is a sourcing requirement, not a feature preference. Our materials already comply with REACH standards, which is why EU importers come back to us for repeat orders.
Which fabric spec fits which use case and price point?
Here is a breakdown I share with buyers during early consultation.
| Fabric | Weight Feel | Durability | Best For | Retail Price Tier |
|---|---|---|---|---|
| 210D nylon ripstop | Light | Moderate | Day packs, ultralight builds | $40–$80 |
| 420D nylon | Medium-heavy | High | Weekend to multi-day packs | $70–$150 |
| 600D polyester | Heavy | High (abrasion) | Budget-tier, casual hiking | Under $50 |
| 500D Cordura | Heavy | Very high | Technical or premium packs | $120+ |
Looking for premium fabrics — including recycled nylon, rPET, and Dyneema options — see: Hiking Backpack Materials Compared: Nylon vs Dyneema vs rPET
Waterproofing: Match Your Spec to Your Marketing Copy
DWR (Durable Water Repellent) coating adds surface water resistance to any base fabric. It is not waterproof construction. A DWR-coated fabric with standard zippers will allow water entry at seams and pull points under sustained rain.
If your product copy uses the word "waterproof," your construction must include sealed seams and waterproof-rated zippers — or you are setting up a returns problem before the product launches.
EU market buyers: REACH compliance is a legal sourcing requirement for chemical substance restrictions in all textile components. It is not a feature or a differentiator — it is the baseline. Our materials are REACH-compliant across the board. Confirm this with any factory before the sample stage, not after you have already placed a deposit.
Does Back Panel Ventilation Affect Comfort or Brand Positioning?
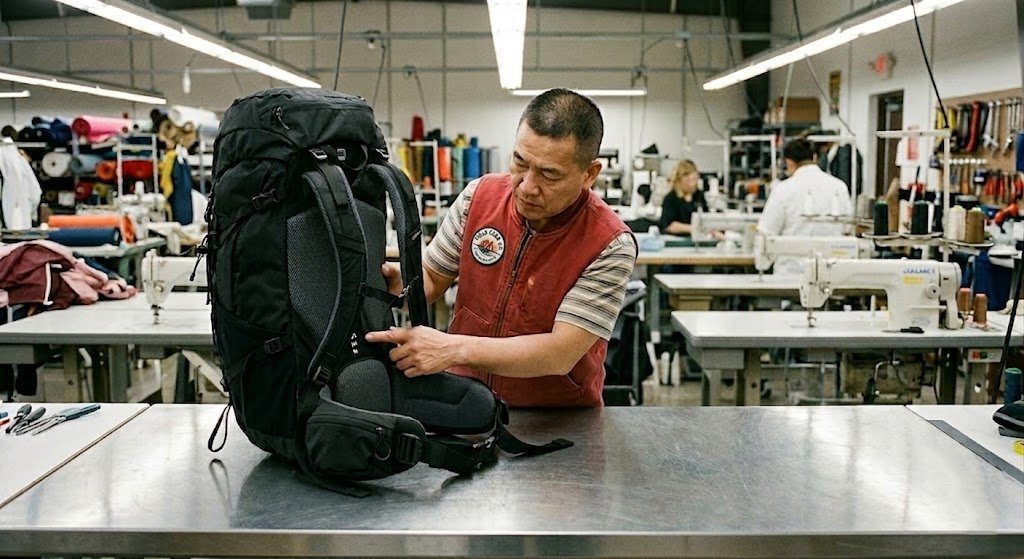
Most articles will tell you mesh back panels are a must-have feature. I disagree with that framing. Back panel ventilation is a positioning decision. It tells you what tier of product you are building and who you are selling to.
Mesh trampoline back panels — often called AirMesh or suspended mesh systems — create airflow between the pack and the hiker’s back. They cost more to produce than foam contact panels. Brands targeting the $80–$150 retail range often specify them. Brands under $50 typically do not. The choice signals product tier as much as it improves comfort.
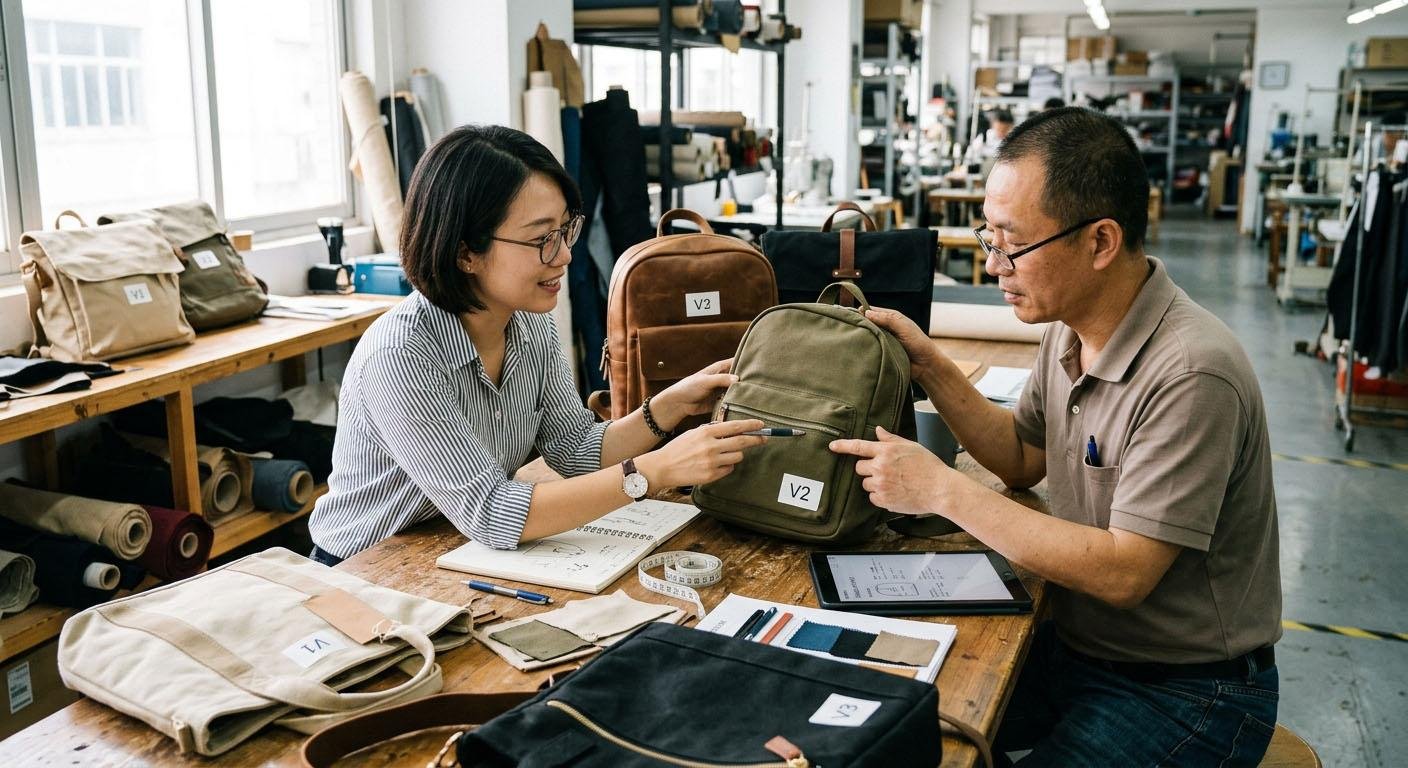
At our factory, the suspended mesh back panel is one of the most common upgrade requests we see between a buyer’s first sample and their second. They start with a foam panel to keep costs down, they see the product positioned next to competitors at retail, and then they come back and ask to add the mesh. That change affects the frame channel design, the hip belt attachment point, and sometimes the torso length adjustment. It is not a small change.
What are the real cost and use trade-offs of back panel options?
| Back Panel Type | Airflow | Production Cost | Load Transfer Efficiency | Typical Retail Tier |
|---|---|---|---|---|
| Flat foam (direct contact) | Low | Low | High | Under $50 |
| Channeled foam (AirFlow) | Medium | Low-Medium | Medium-High | $50–$90 |
| Suspended mesh trampoline | High | Medium-High | Medium | $80–$150 |
| Ridged frame with mesh | Very high | High | High (with frame) | $120+ |
What Buyers Frequently Miss
Suspended mesh systems reduce direct load transfer because the pack sits slightly away from the body. For loads under 6 kg this is a reasonable tradeoff. For heavier multi-day loads, a direct-contact panel keeps weight closer to the center of gravity and performs better structurally.
Switching from a foam panel to a suspended mesh system between your first and second sample — which we see regularly — is not a simple material swap. It affects the frame channel geometry, the hip belt attachment point, and sometimes the torso adjustment system. Build the right back panel into your first brief.
See the full airflow and moisture comparison here: Mesh vs Padded Backpack Back Panels: Which is Cooler for Sweaty Backs?
Should Compartment Layout Follow User Behavior or Just SKU Specs?
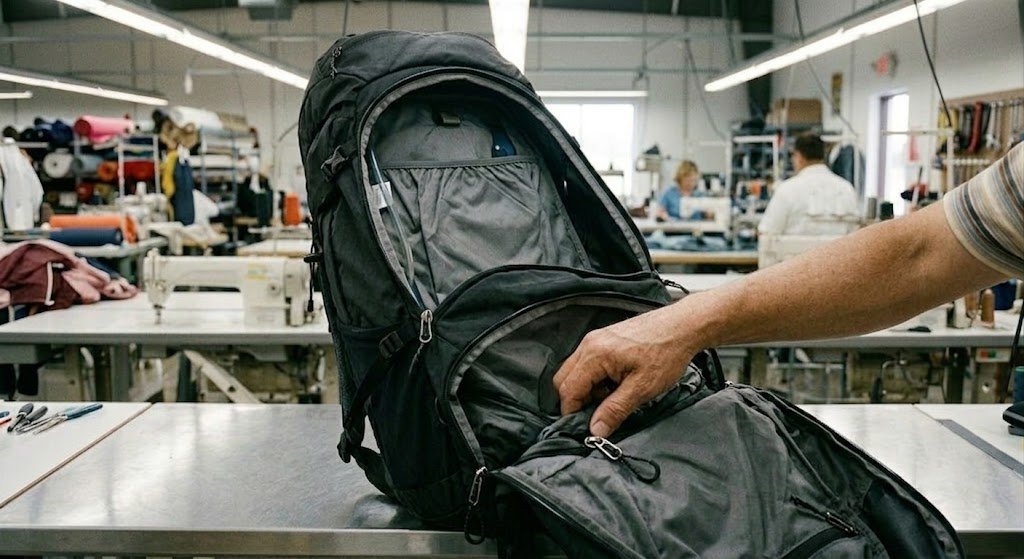
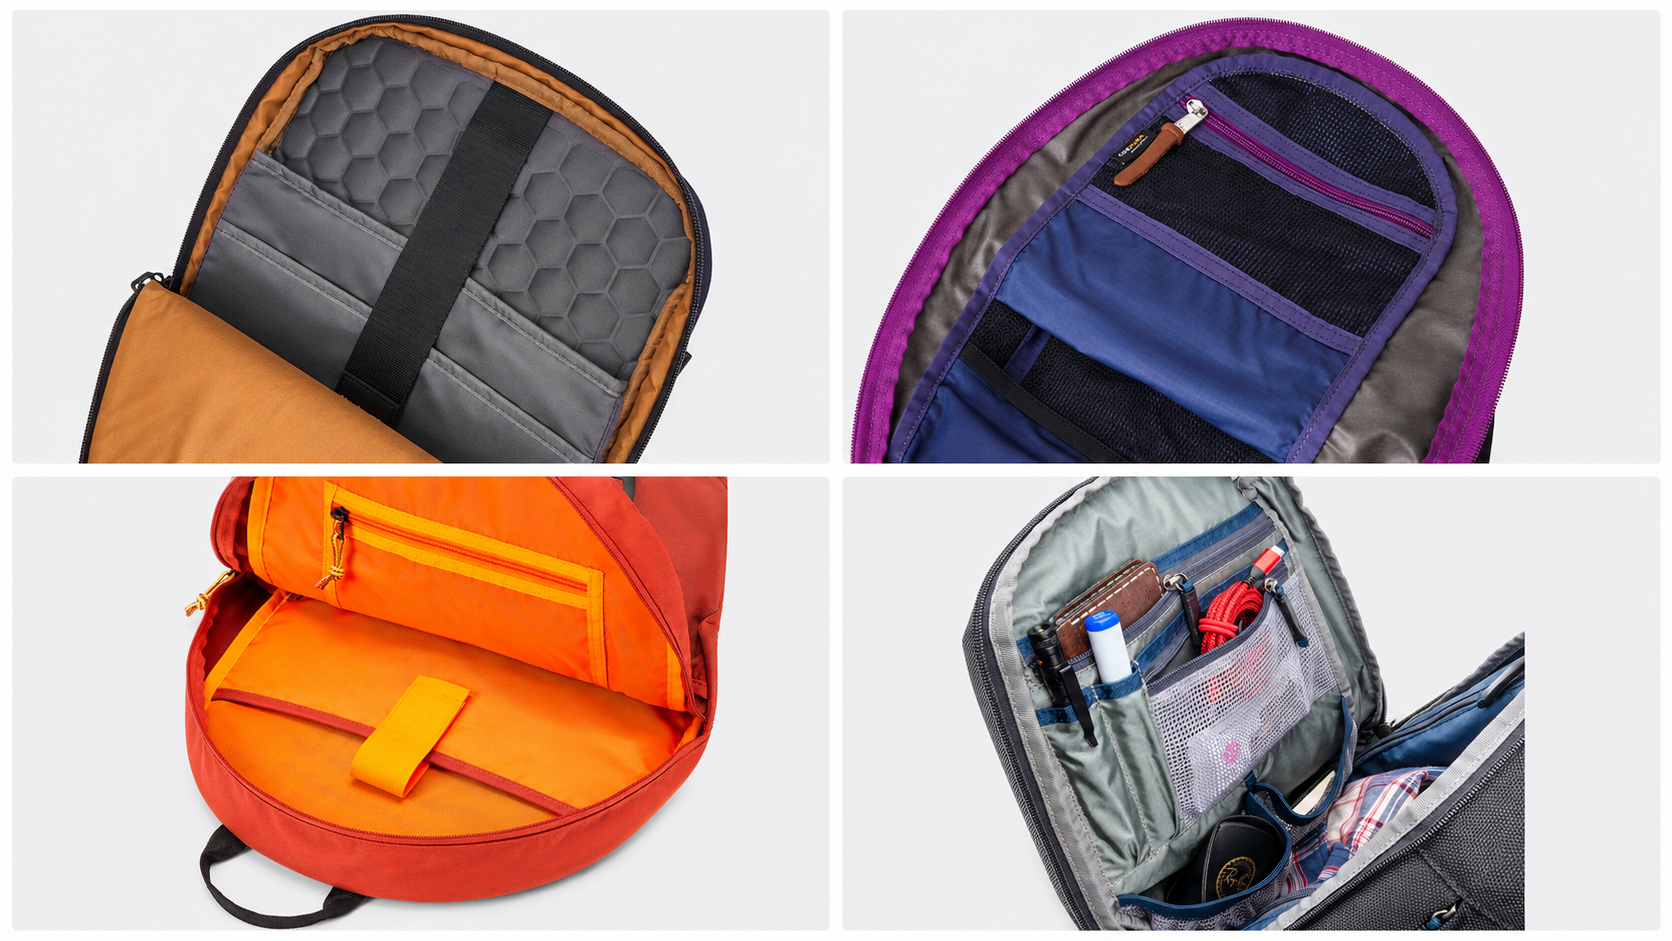
I have lost count of how many times a buyer has sent us a compartment layout that looks good on a spec sheet but does not match how a hiker actually uses the pack. The most common version: a multi-day pack with no bottom sleeping bag compartment. The hiker has to unpack everything to reach the sleeping bag. That is a user experience failure, and it shows up in product reviews.
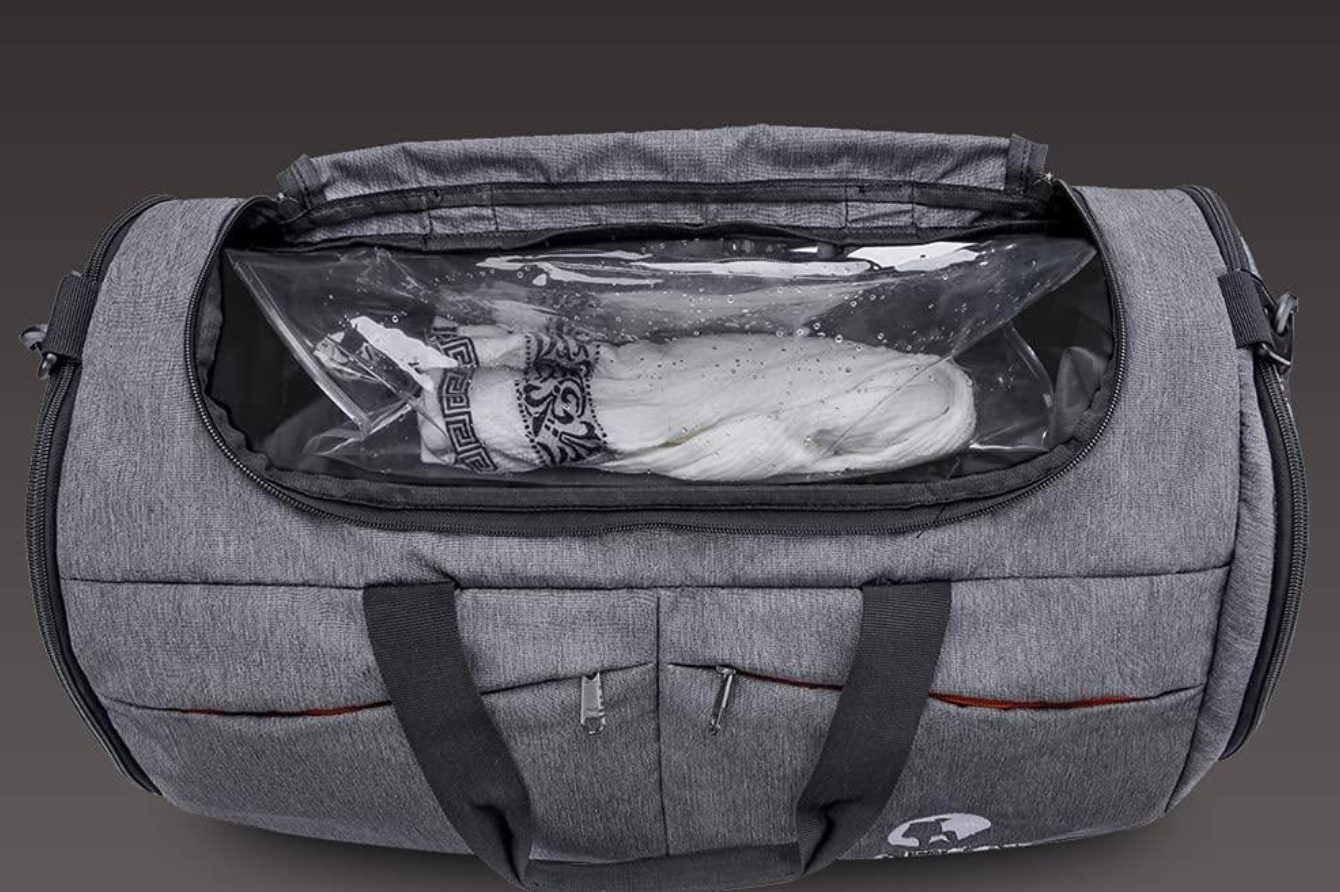
Compartment layout should map to the target user’s access behavior. Day hikers need fast top-lid access and a hydration sleeve. Multi-day hikers need a bottom sleeping bag compartment and external gear loops. Buyers who skip this user-behavior mapping at the spec stage often request mid-sample redesigns, which adds cost and time.
At our factory, I ask buyers to walk me through a typical day of use for their target customer. Where does the hiker reach first in the morning? What do they need on the trail without stopping to open the main compartment? What goes in last before they leave camp? That sequence maps directly to where the compartments should sit and how they should open.
Which compartment features serve which user type?
| Feature | Day Hiker | Weekend Hiker | Multi-Day Trekker |
|---|---|---|---|
| Top lid with quick-access pocket | Essential | Essential | Essential |
| Hydration sleeve (internal) | Essential | Essential | Optional (bladder) |
| Front slash pocket | Useful | Useful | Optional |
| Bottom sleeping bag compartment | Not needed | Optional | Essential |
| Side water bottle pockets | Useful | Essential | Essential |
| Hip belt pockets | Optional | Useful | Essential |
| Ice axe loops / gear loops | Not needed | Optional | Essential (alpine) |
| Trekking pole attachment | Not needed | Useful | Essential |
One pattern I see with Amazon sellers building their first private-label hiking pack: they add every compartment from this list because they think more features equals a better product. It does not. A 22L day pack with a bottom sleeping bag compartment just confuses the customer. It also adds production cost for a feature that never gets used.
The best OEM briefs I receive define one primary user, one primary use scenario, and then build the compartment layout around that. Everything else is noise.
Is the Internal Frame the Feature Your Factory Is Most Likely to Cut?
The internal frame is the single most substituted component in OEM hiking backpack production — invisible to buyers during standard QC, impossible to detect without load testing, and the root cause of the 18% return rate we helped a US client diagnose after their first 800-unit production run with another factory.
A US-based Amazon seller came to us in 2021 after receiving their first production run of a 40L weekend pack. The spec sheet said "aluminum frame stays." The pre-production sample had them. The production units arrived with thinner-gauge stays seated in oversized sleeves — they shifted laterally under an 8 kg load within the first month of customer use. The return claims all said "uncomfortable after two hours." The real cause was invisible until we cut one unit open.
That failure is entirely preventable with the right spec and the right verification process.
Internal Frame Types and Minimum Load Suitability
| Frame Type | Weight Add | Factory Cost Add | Minimum Load Suitability |
|---|---|---|---|
| No frame (frameless) | None | Baseline | Up to 5 kg |
| Single aluminum stay | +80–120g | +$1.20–$2.00 | Up to 8 kg |
| Dual aluminum stays | +150–200g | +$2.50–$4.00 | Up to 15 kg |
| Molded plastic framesheet | +200–300g | +$3.00–$5.00 | Up to 12 kg (budget alternative) |
| Rigid internal frame | +300–500g | +$6.00–$12.00 | 15 kg and above |
Sample Verification Checklist
- Pull out the stays and check the sleeve width — the stay should fit snugly with less than 3mm of lateral play; anything more and it will shift under load
- Press the hip belt foam firmly — it should not compress more than 30% under sustained hand pressure; if it collapses easily, it will fail under real load within months
- Load the pack to rated maximum and walk 20 minutes — shoulder fatigue before that mark means hip load transfer is not functioning
- Check the load lifter strap angle — it should pull at roughly 45° from shoulder strap to the top of the pack; a flat angle means the lifters are decorative, not functional
For a full explanation of load lifters and sternum straps: Load Lifters and Sternum Straps Explained — by the Factory That Makes Them
Does Zipper Brand Actually Affect Return Rates, or Is It Just a Cost Line?
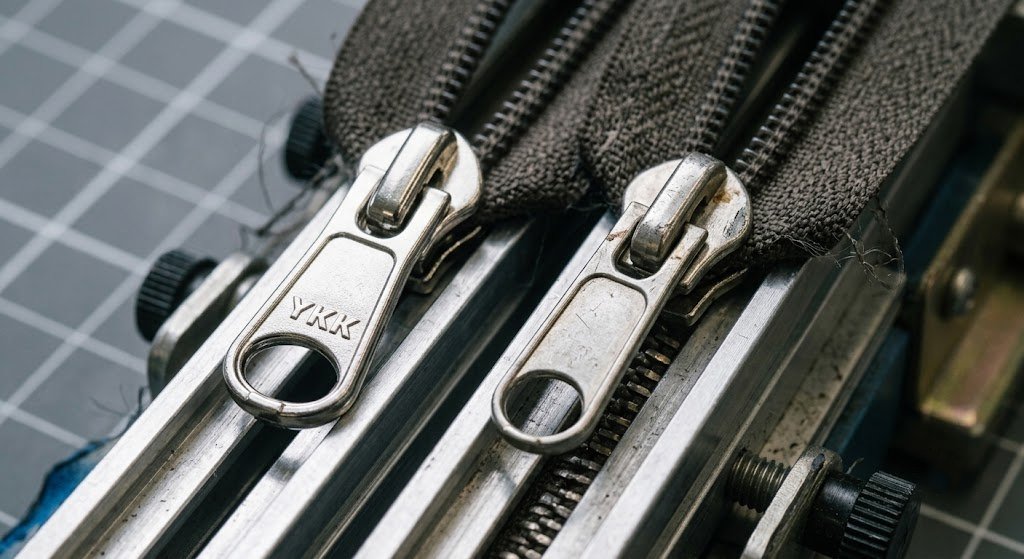
Zipper brand directly determines cycle life — the number of open/close operations before slider or tooth failure. YKK #5 and #8 are rated above 10,000 cycles under standard testing. Unbranded domestic equivalents typically rate 2,000–5,000 cycles. For a pack used three times per week, this is the difference between one season and three years of service.
Zipper failure occurs in two modes: slider wear (the slider body deforms and loses grip on the chain) and tooth misalignment (the interlocking elements separate under lateral stress). Locking sliders prevent unintended opening under load — required for main compartments on any loaded pack. Non-locking sliders are acceptable for secondary and organization pockets.
Zipper Specification Comparison
| Zipper Type | Approx. Cost per Zip | Cycle Rating | Common Failure Mode |
|---|---|---|---|
| Domestic unbranded | $0.08–$0.15 | 2,000–5,000 cycles | Slider wear, tooth misalignment |
| YKK #5 / #8 | $0.35–$0.65 | 10,000+ cycles | Rare; fabric typically fails first |
| YKK Aquaguard (water-resistant) | $0.80–$1.40 | 8,000+ cycles | Coating wear after heavy use |
| Fully sealed waterproof zipper | $1.80–$3.20 | 5,000–7,000 cycles | Seal delamination if stored compressed |
What to Specify in Your Brief
- Zipper brand and series number (e.g., "YKK #5 coil" — not "quality zipper")
- Slider type per compartment: locking (main) vs. non-locking (secondary)
- Pull tab material per zone: paracord, molded rubber, or metal
- Waterproof treatment level, tied directly to your product copy claims
How Do Feature Decisions Actually Affect Your FOB Cost, MOQ, and Lead Time?
Feature choices are not just product decisions — they are business timeline decisions. A suspended mesh back panel adds $2.50–$4.00 per unit with no MOQ change. An adjustable torso system requiring new tooling adds 30–45 days to your lead time and a 500-piece minimum — enough to miss a seasonal launch window entirely.
Feature decisions fall into two categories: those that use existing production infrastructure (switching zipper brand, adding a hip belt, upgrading foam density) and those that require new tooling, certified material sourcing, or extended lead times (custom hardware, adjustable torso systems, OEKO-TEX compliant fabrics). The second category is where buyers underestimate timeline impact — consistently by four to six weeks.
Cost, MOQ, and Lead Time by Feature Decision
| Feature Add or Change | Approx. FOB Cost Add | MOQ Impact | Lead Time Impact |
|---|---|---|---|
| Load-transfer hip belt (basic) | +$1.50–$2.50 | None | None |
| Suspended mesh back panel | +$2.50–$4.00 | None | +5–7 days |
| Dual aluminum frame stays | +$2.50–$4.00 | None | None |
| Adjustable torso system (new mold) | +$4.00–$8.00 | 500 pcs minimum | +30–45 days |
| YKK zippers, full pack | +$1.80–$3.50 | None | None |
| Built-in rain cover | +$1.50–$2.80 | None | +3–5 days |
| OEKO-TEX certified materials | +$0.80–$1.50 | 500 pcs minimum | +7–14 days |
| Custom hardware or buckles | +$0.50–$1.50 | 1,000 pcs minimum | +15–20 days |
| Custom fabric weave or colorway | Varies | 3,000 yards minimum | +20–30 days |
Factory Insight: MOQ thresholds are largely fixed on first orders but negotiable for repeat buyers with order history. If your initial order is under 300 units, work within existing mold and hardware libraries — the pack can still be well-specified. Save the custom tooling decisions for your second run, when you have sales velocity data to justify the investment and the relationship to negotiate better terms.
Conclusion
Most buyers who reach out after reading this article are in one of three situations:
- They have a brief they’re not confident in and want a second set of eyes before sending it to a factory
- They have a sample that came back wrong and can’t pinpoint why
- They’re evaluating factories and aren’t sure what questions to ask
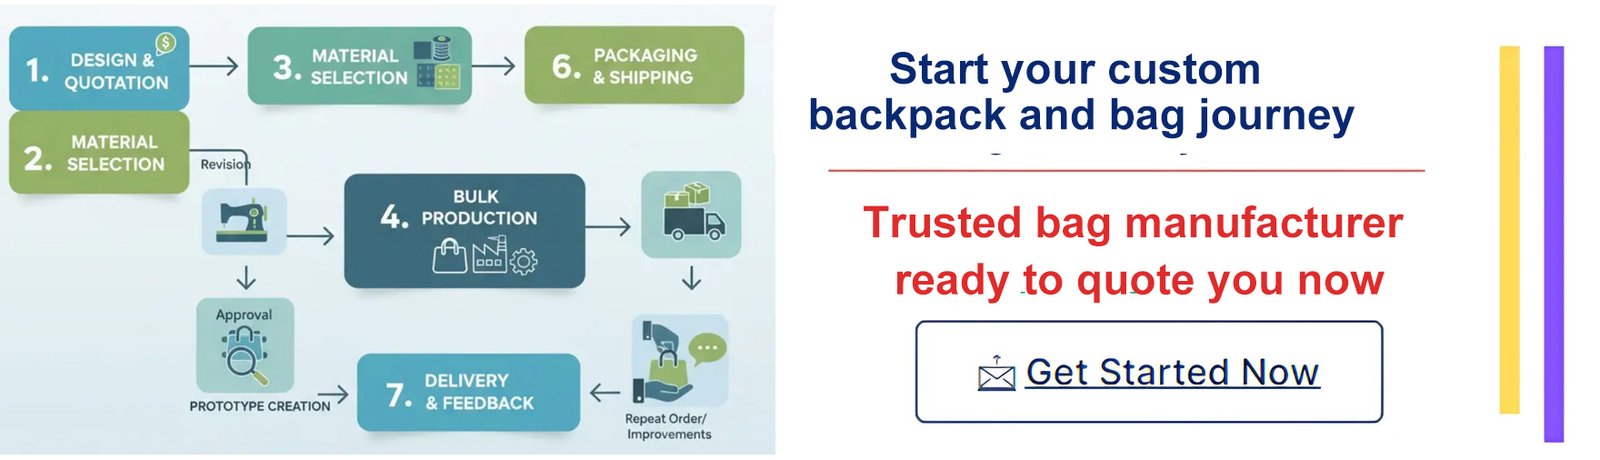
Send us whatever you have. We’ll tell you what we see — which spec decisions are missing, where the cost is hidden, and what the lead time risks are for your target launch window. We’ve been developing hiking backpacks out of Fujian since 2014. We know exactly where first-time briefs fall short, and we’ll tell you directly.
No catalog. No pricing sheet before we understand your project.